


Step 1
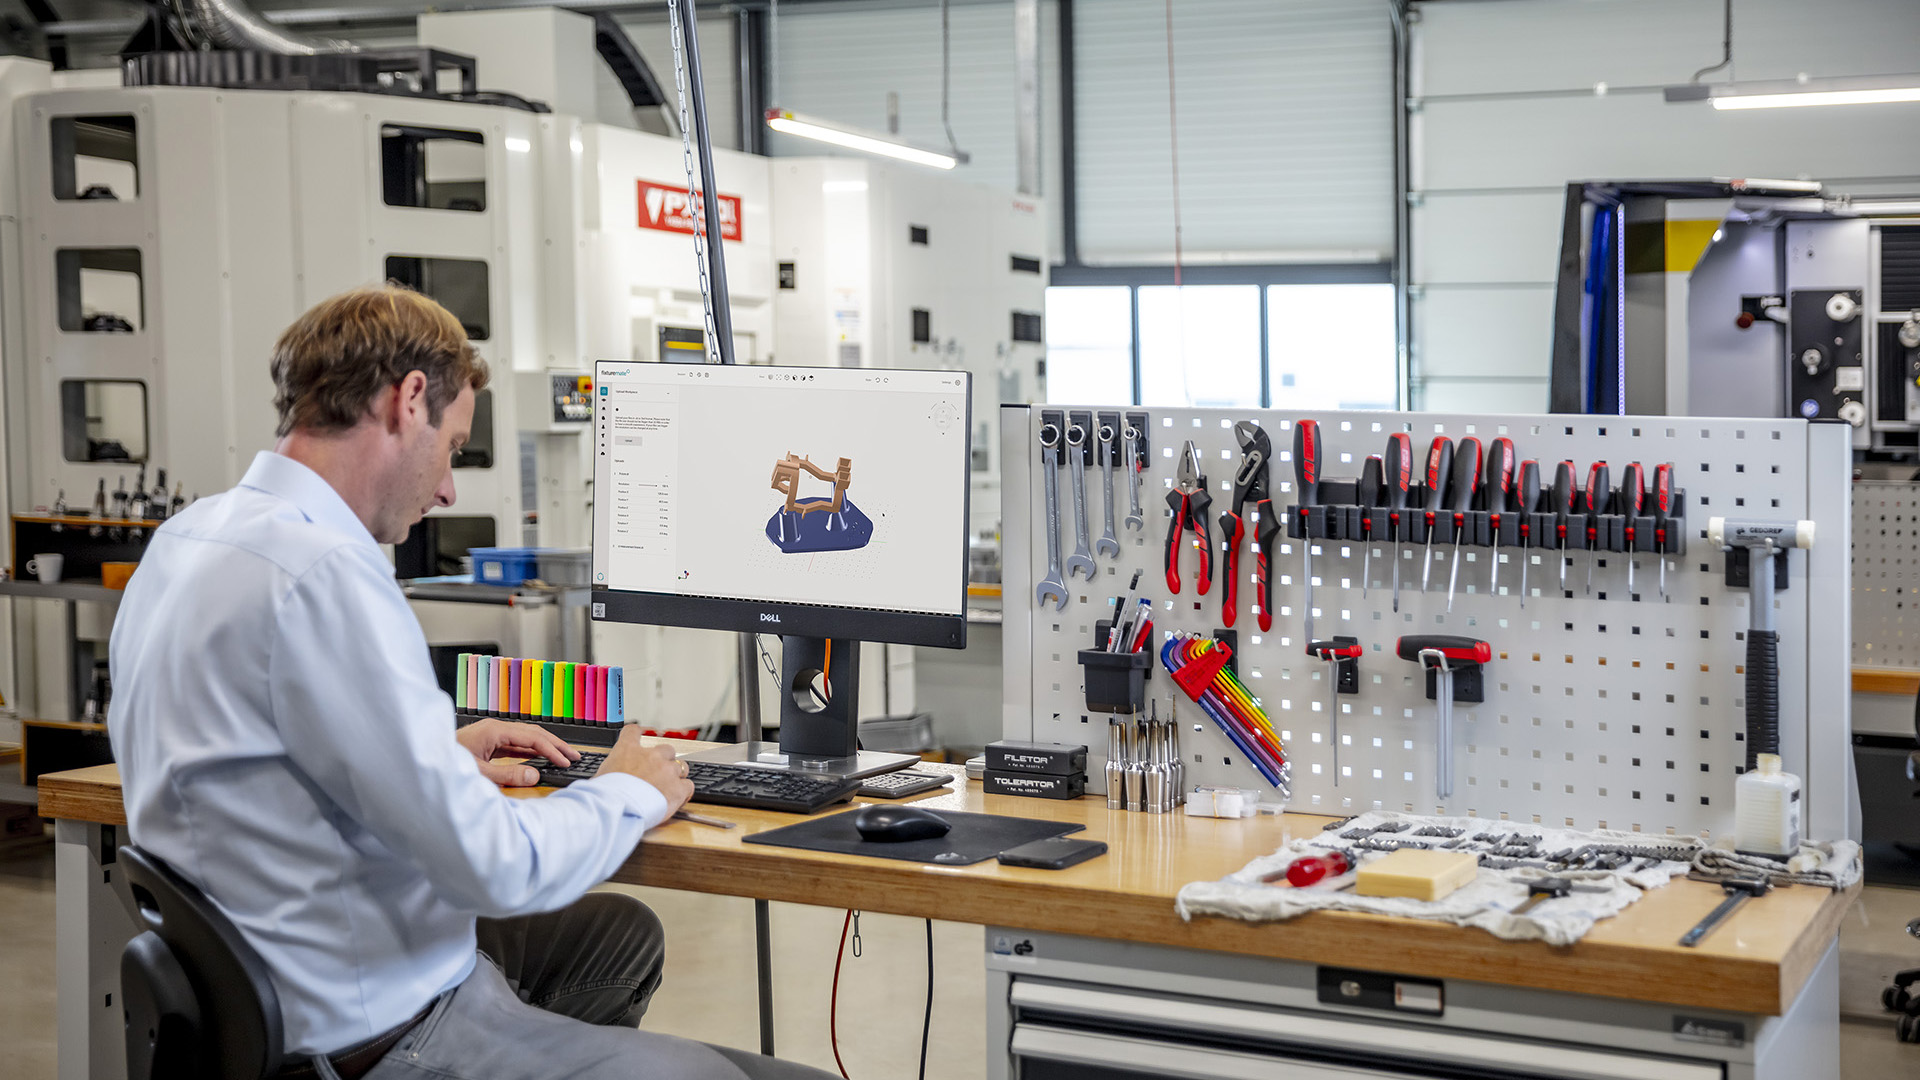
Import CAD data
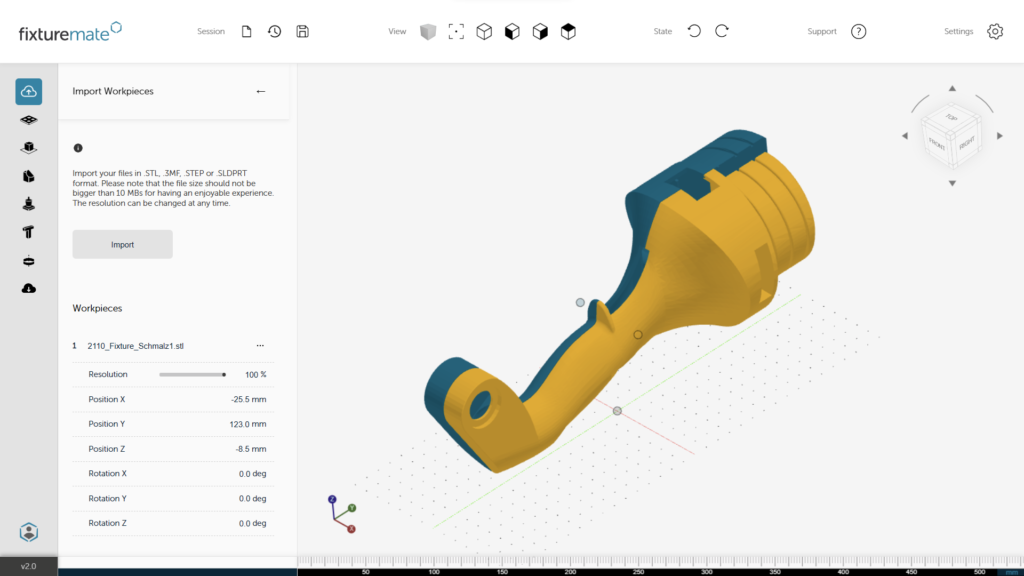
Upload STL, 3MF, SLDPRT, or STEP workpieces and position them in the working environment.
Step 2
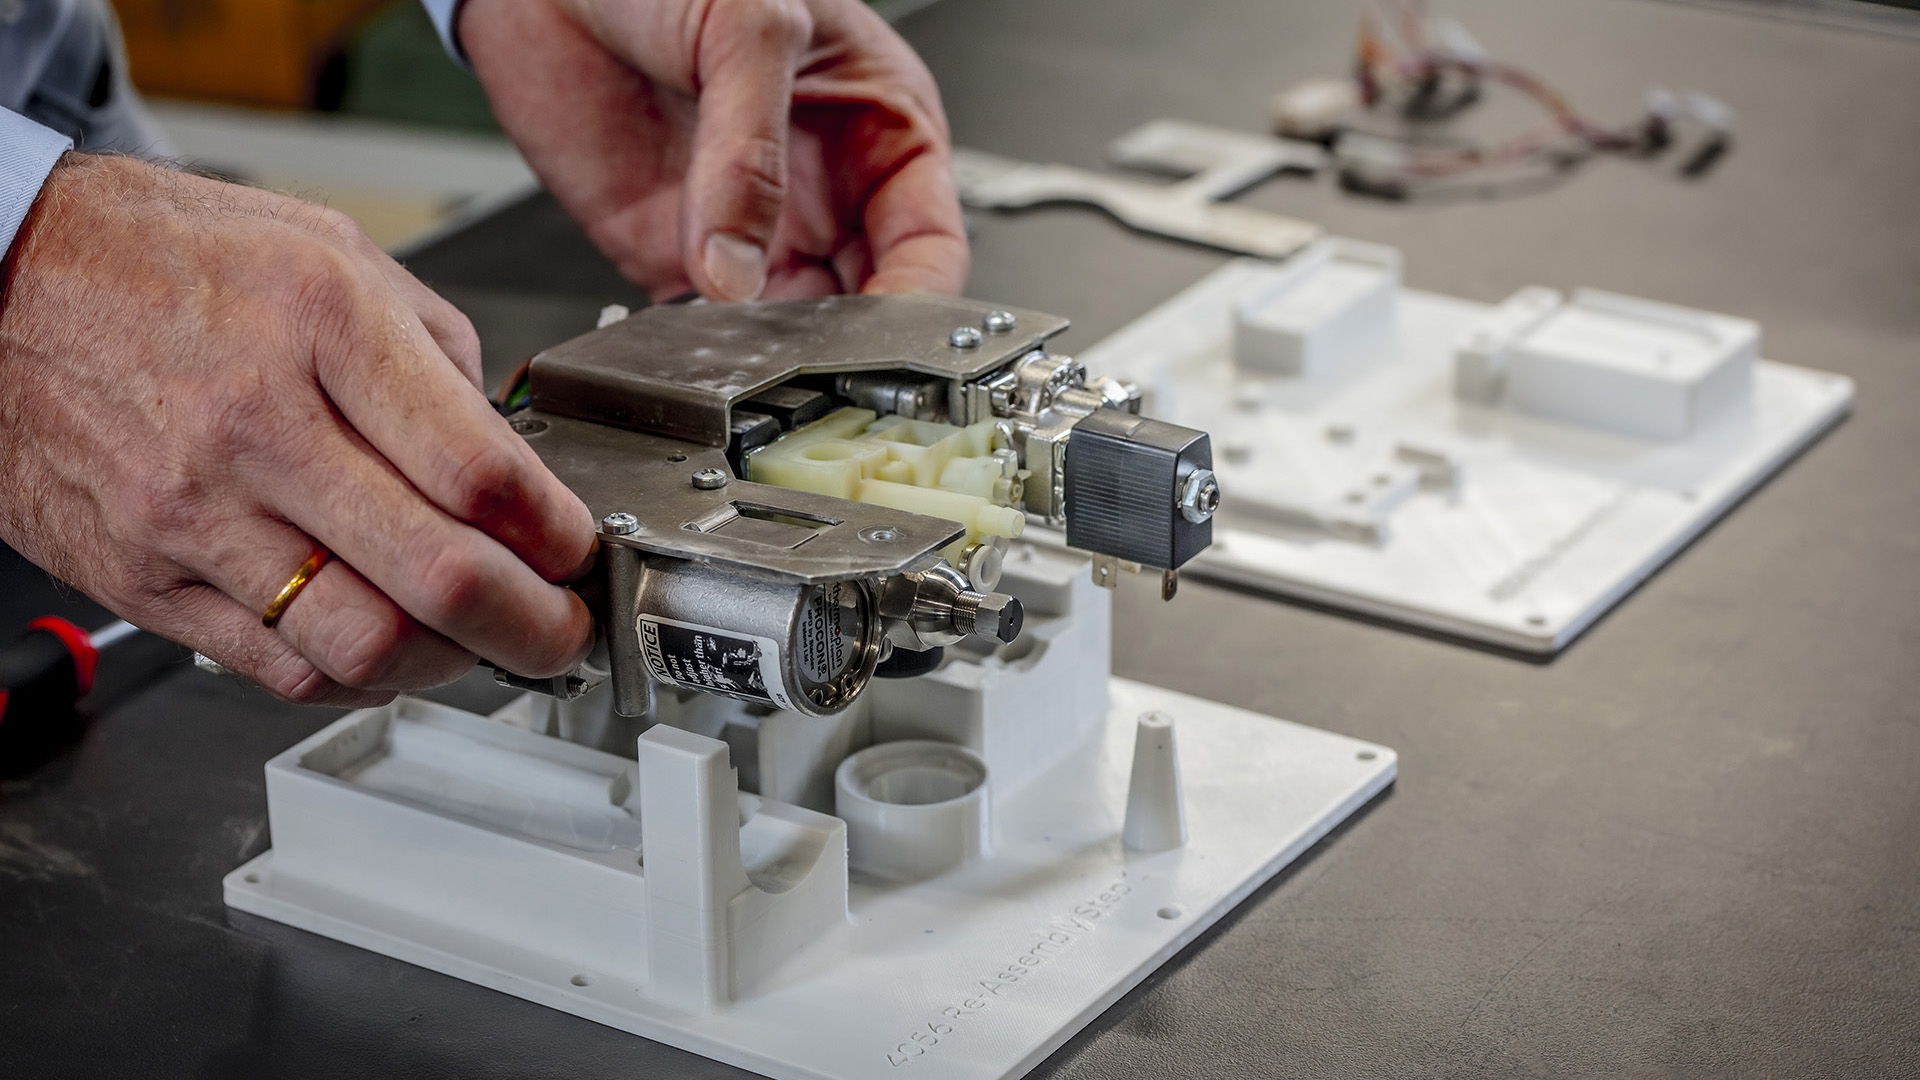
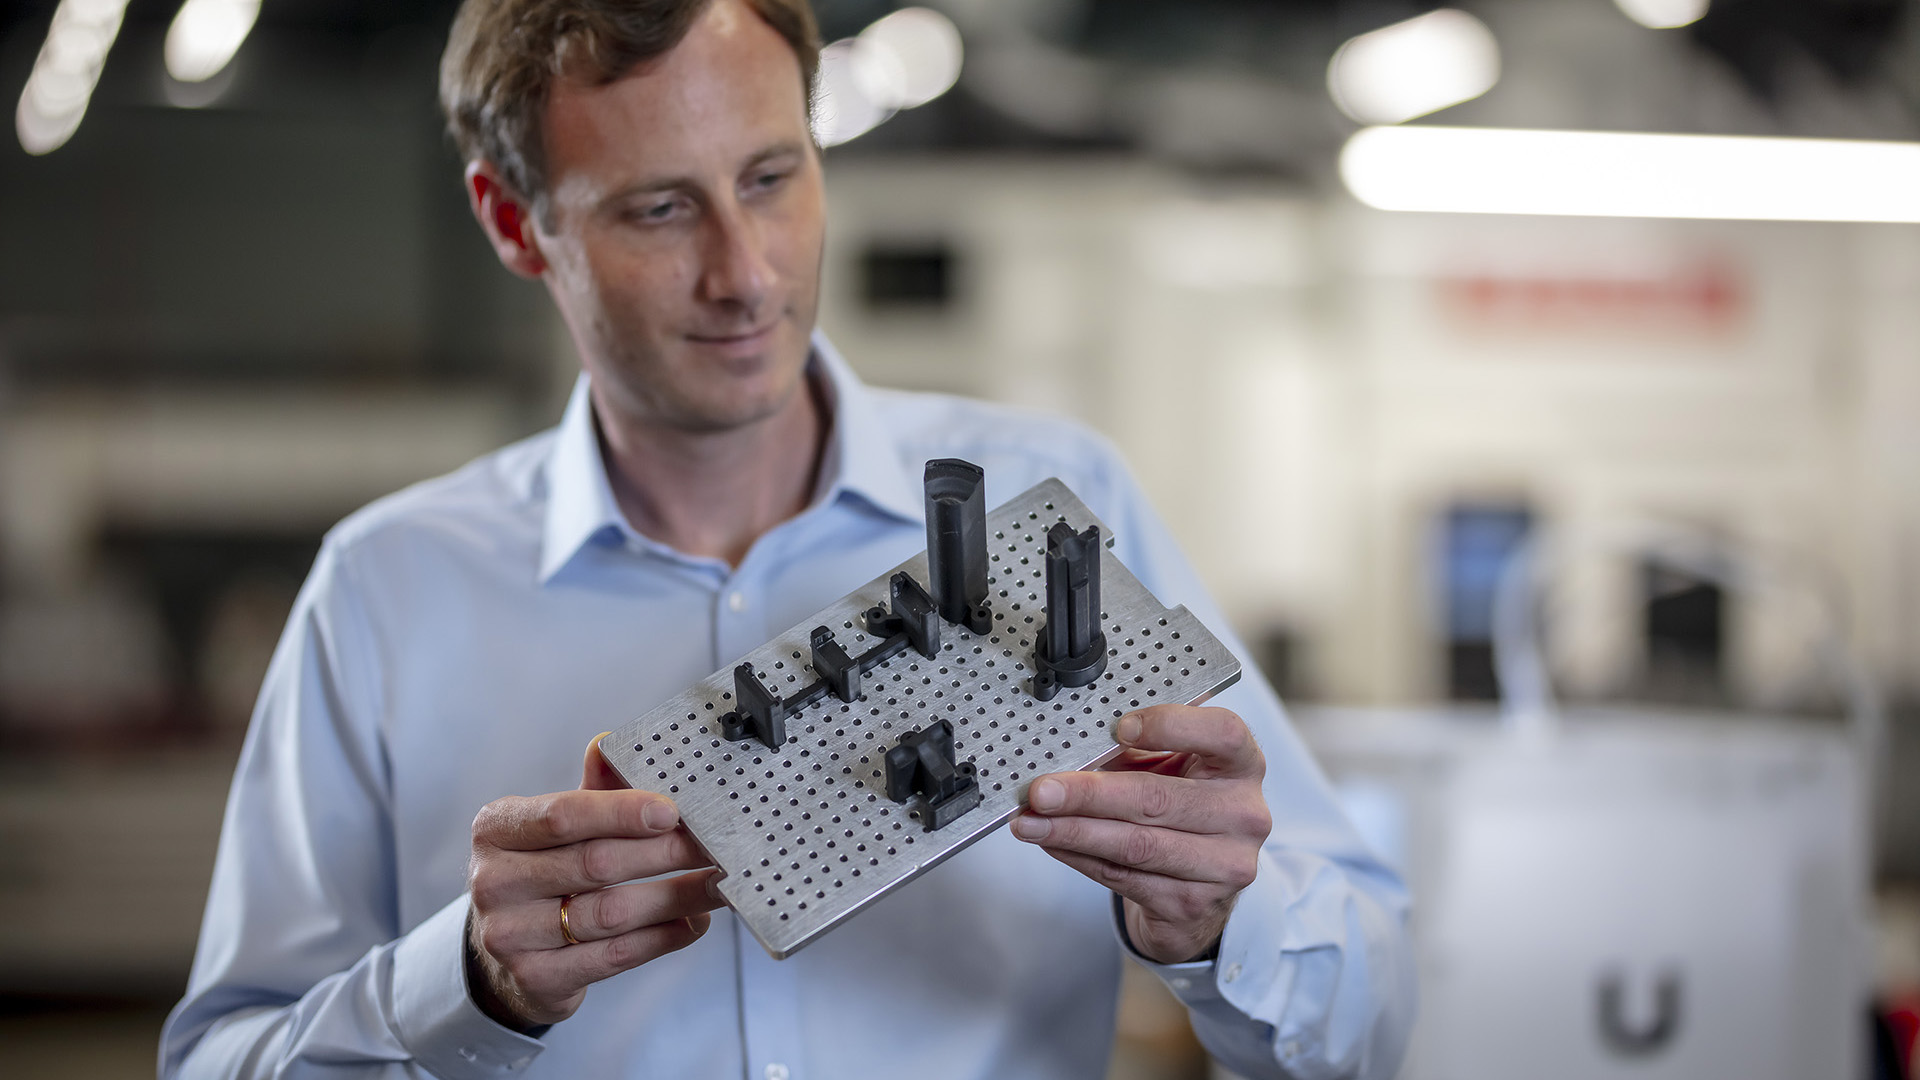
Define the base plate
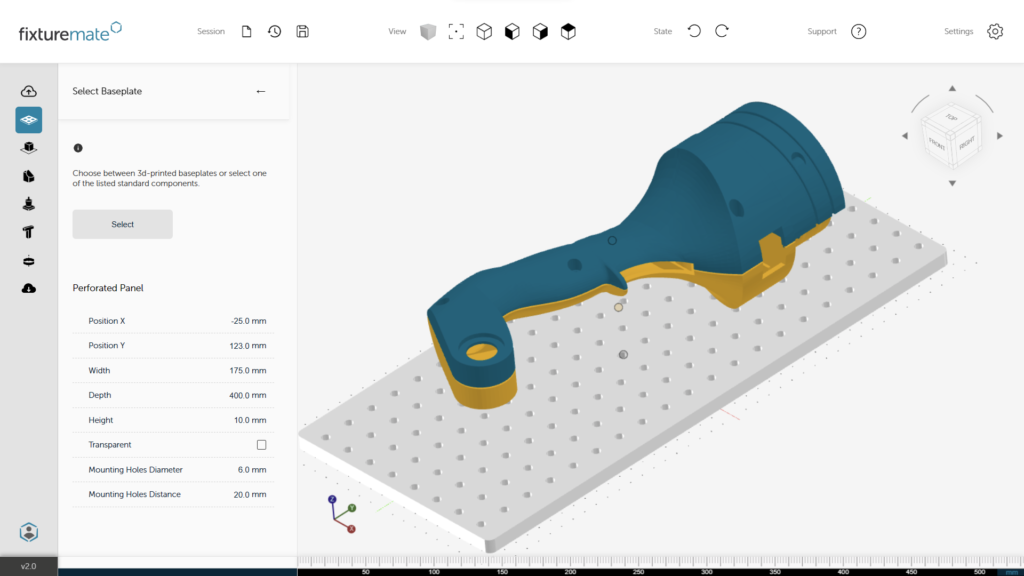
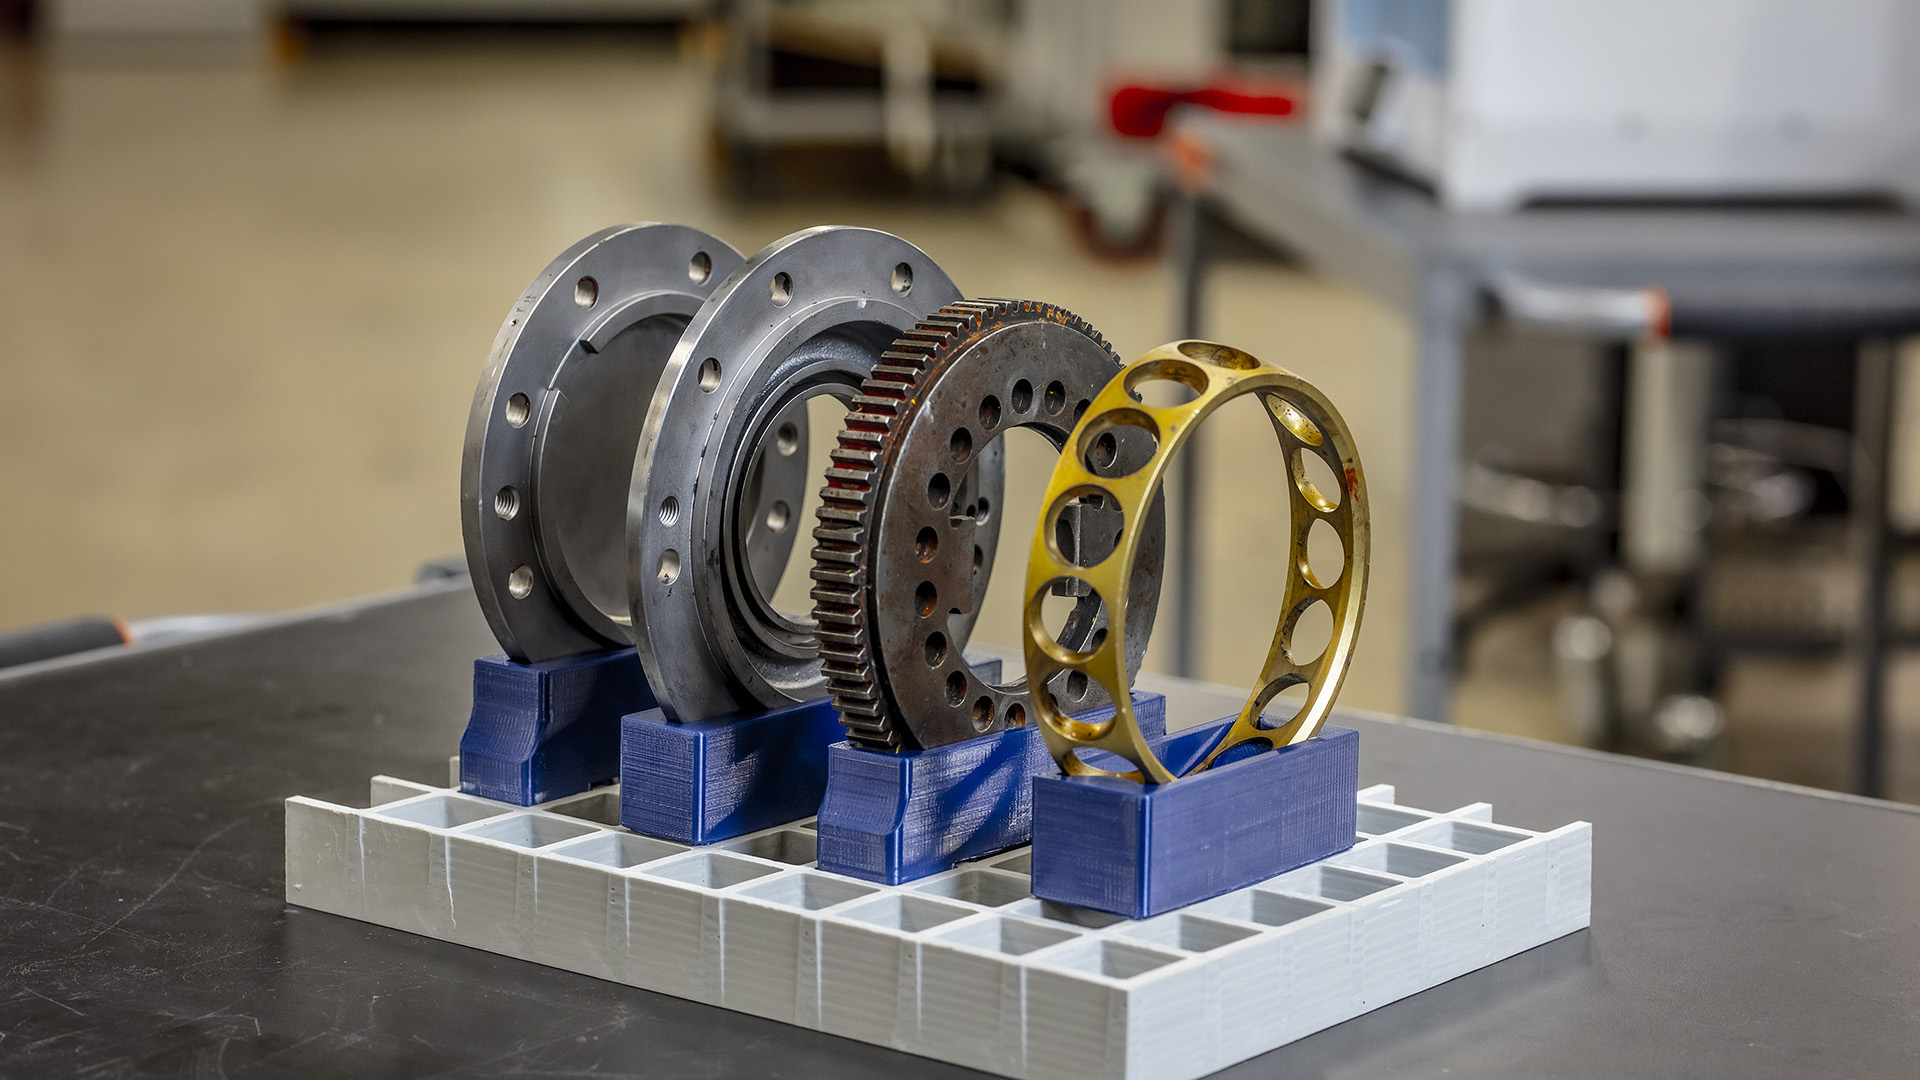
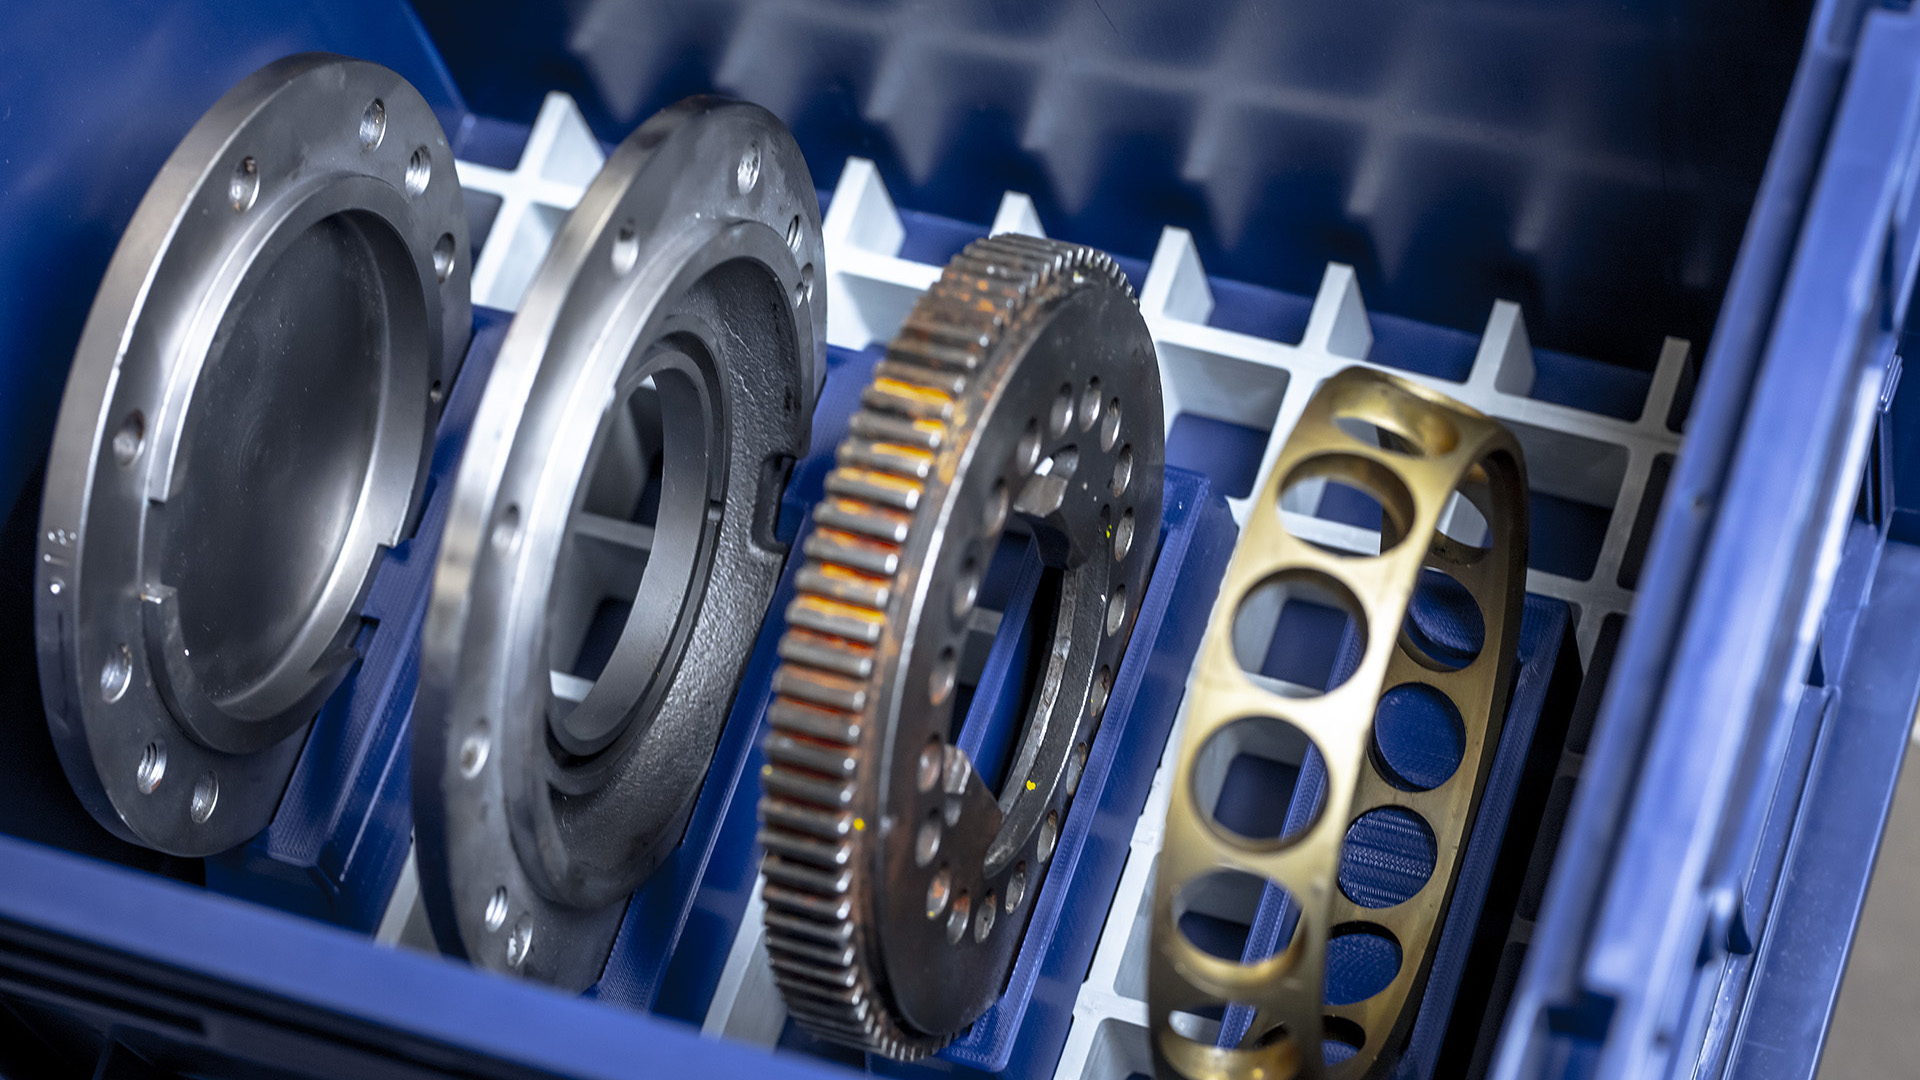
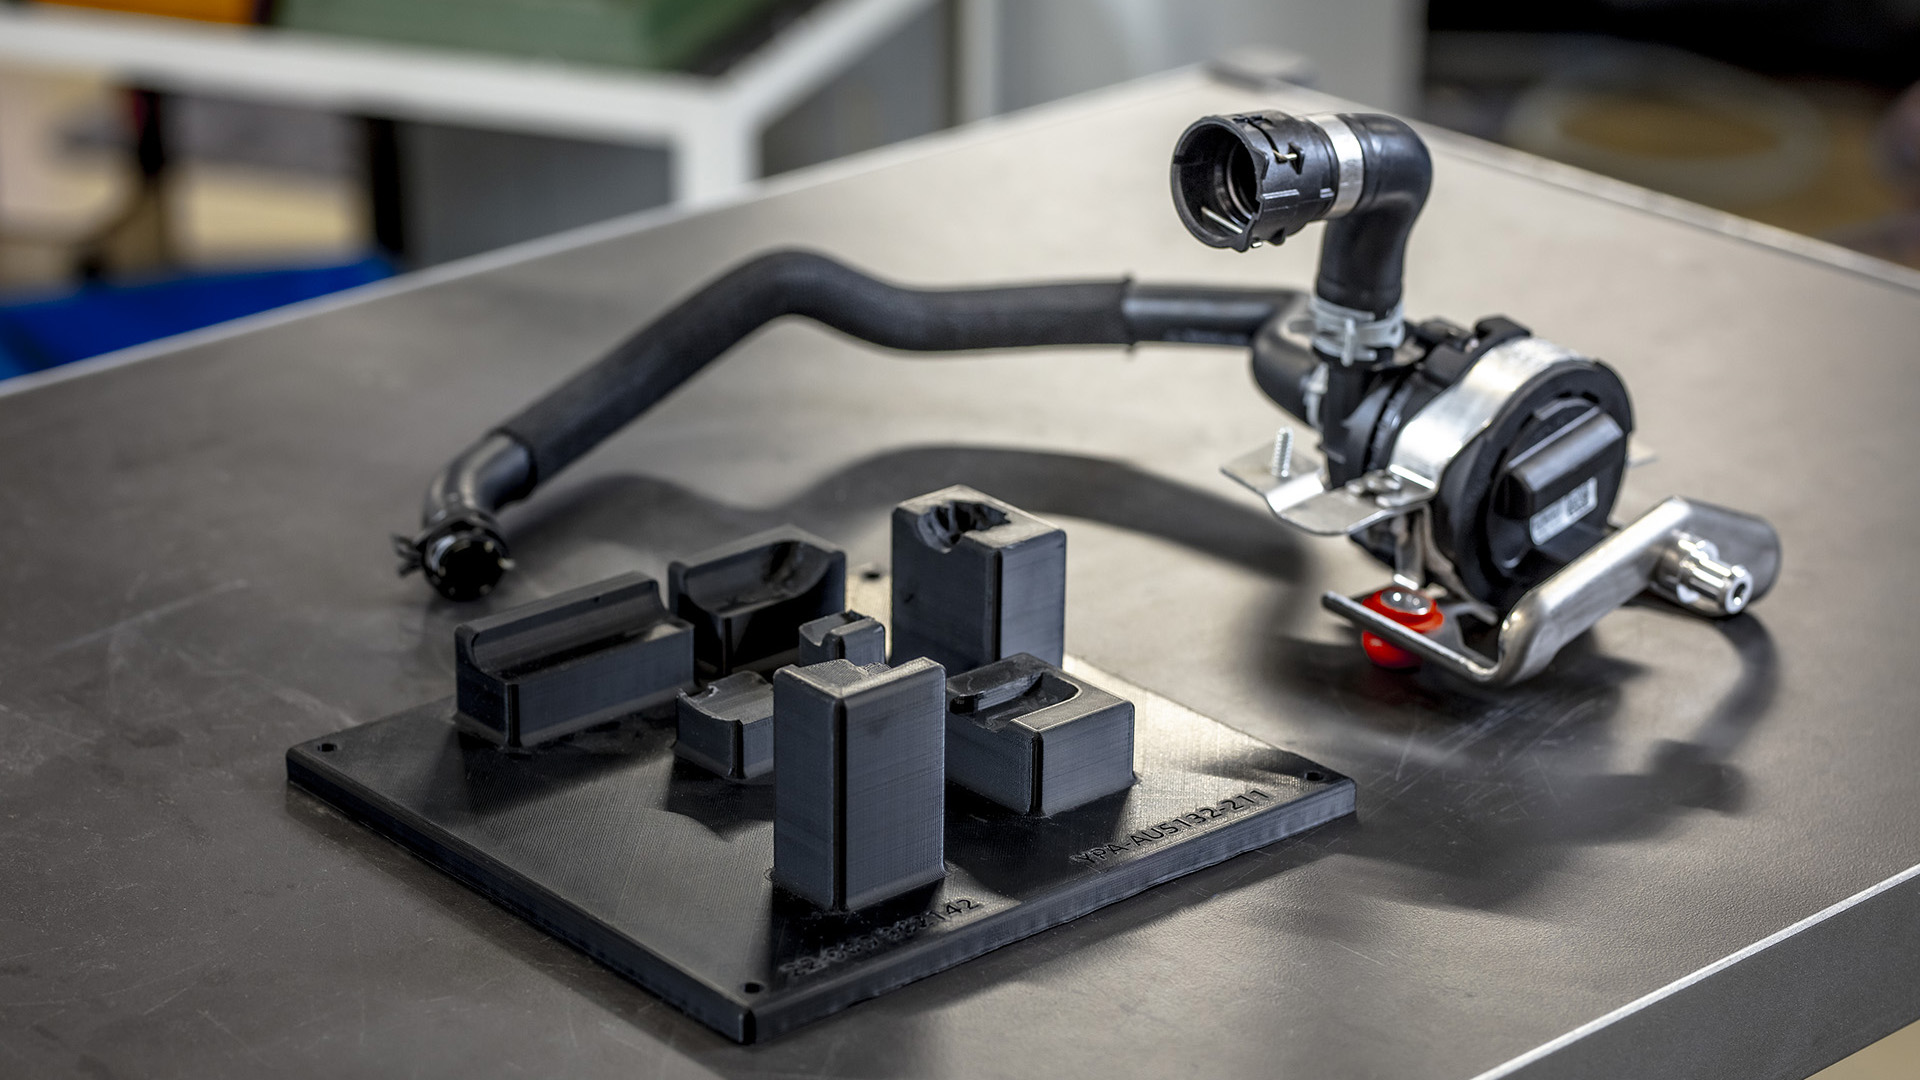
As the base plate of your fixture, you can choose between a standard component or a fully 3D-printed setup.
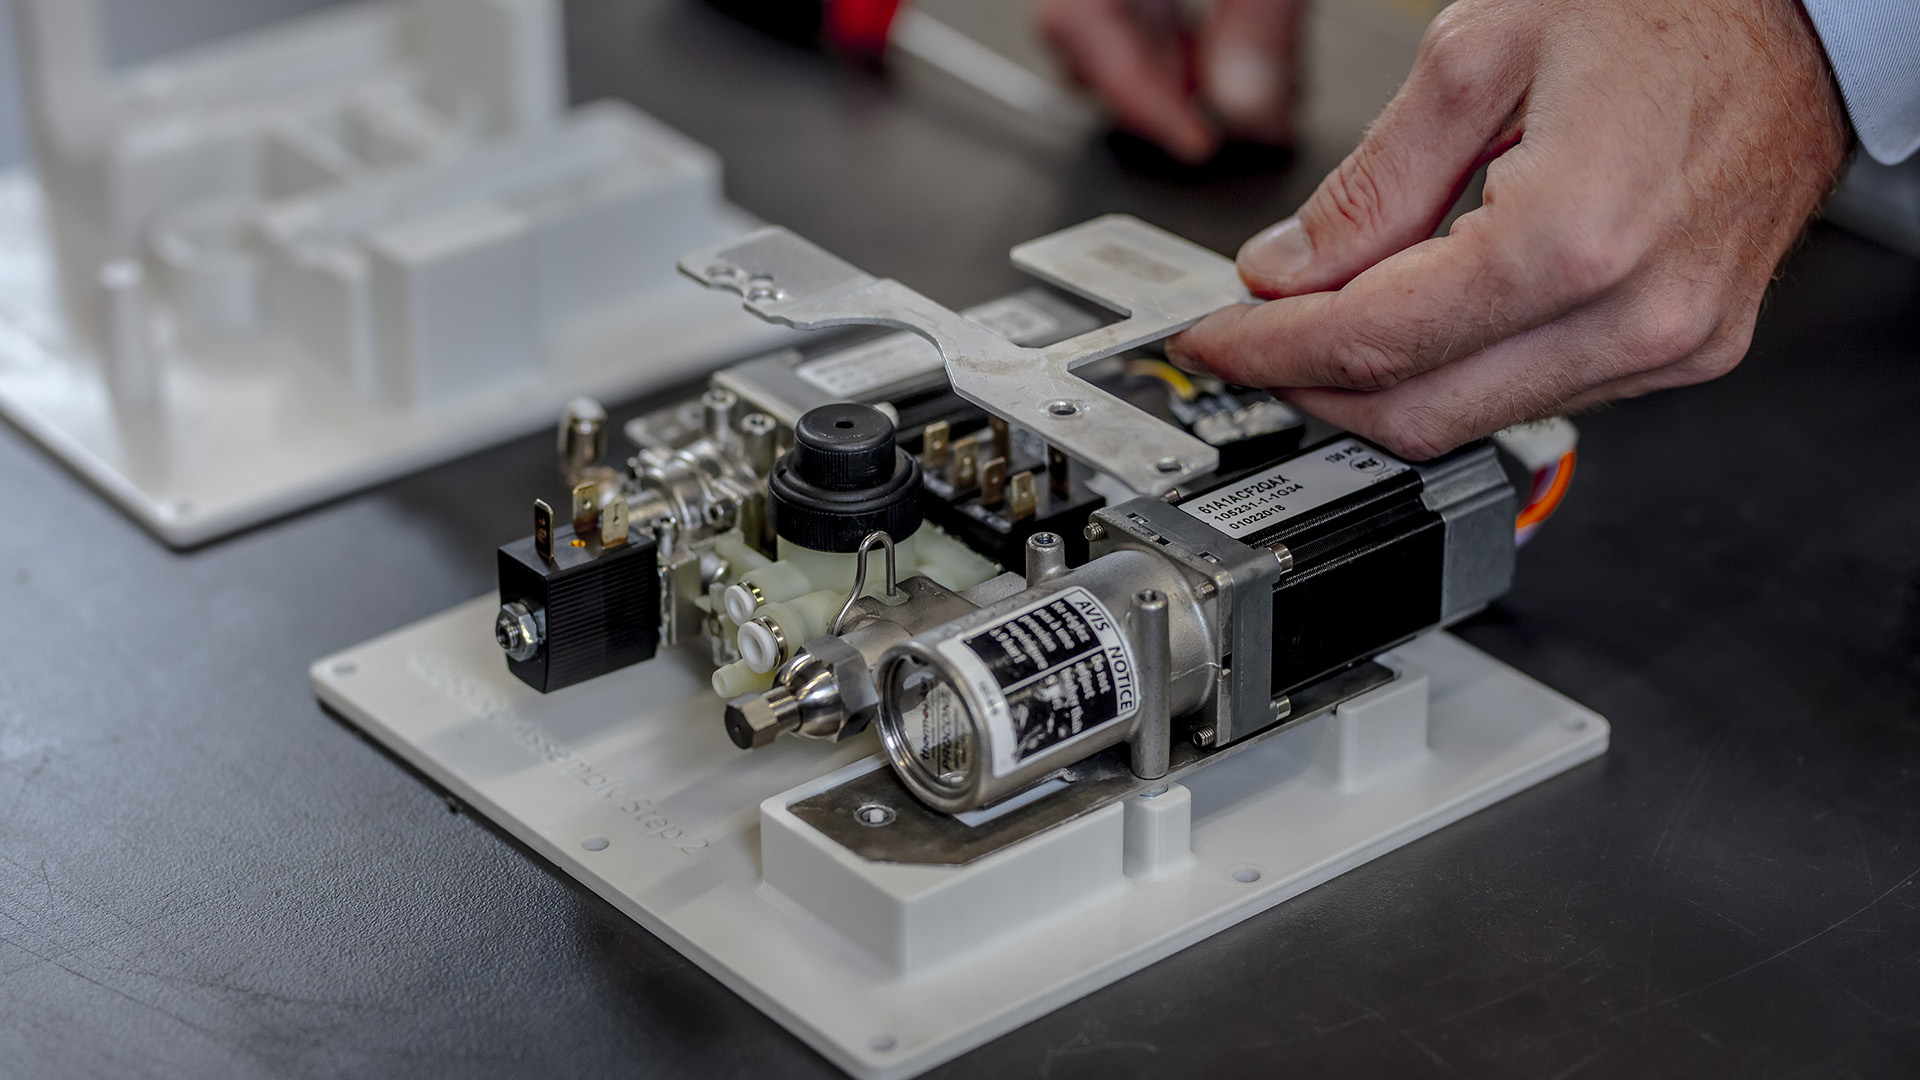
Step 3
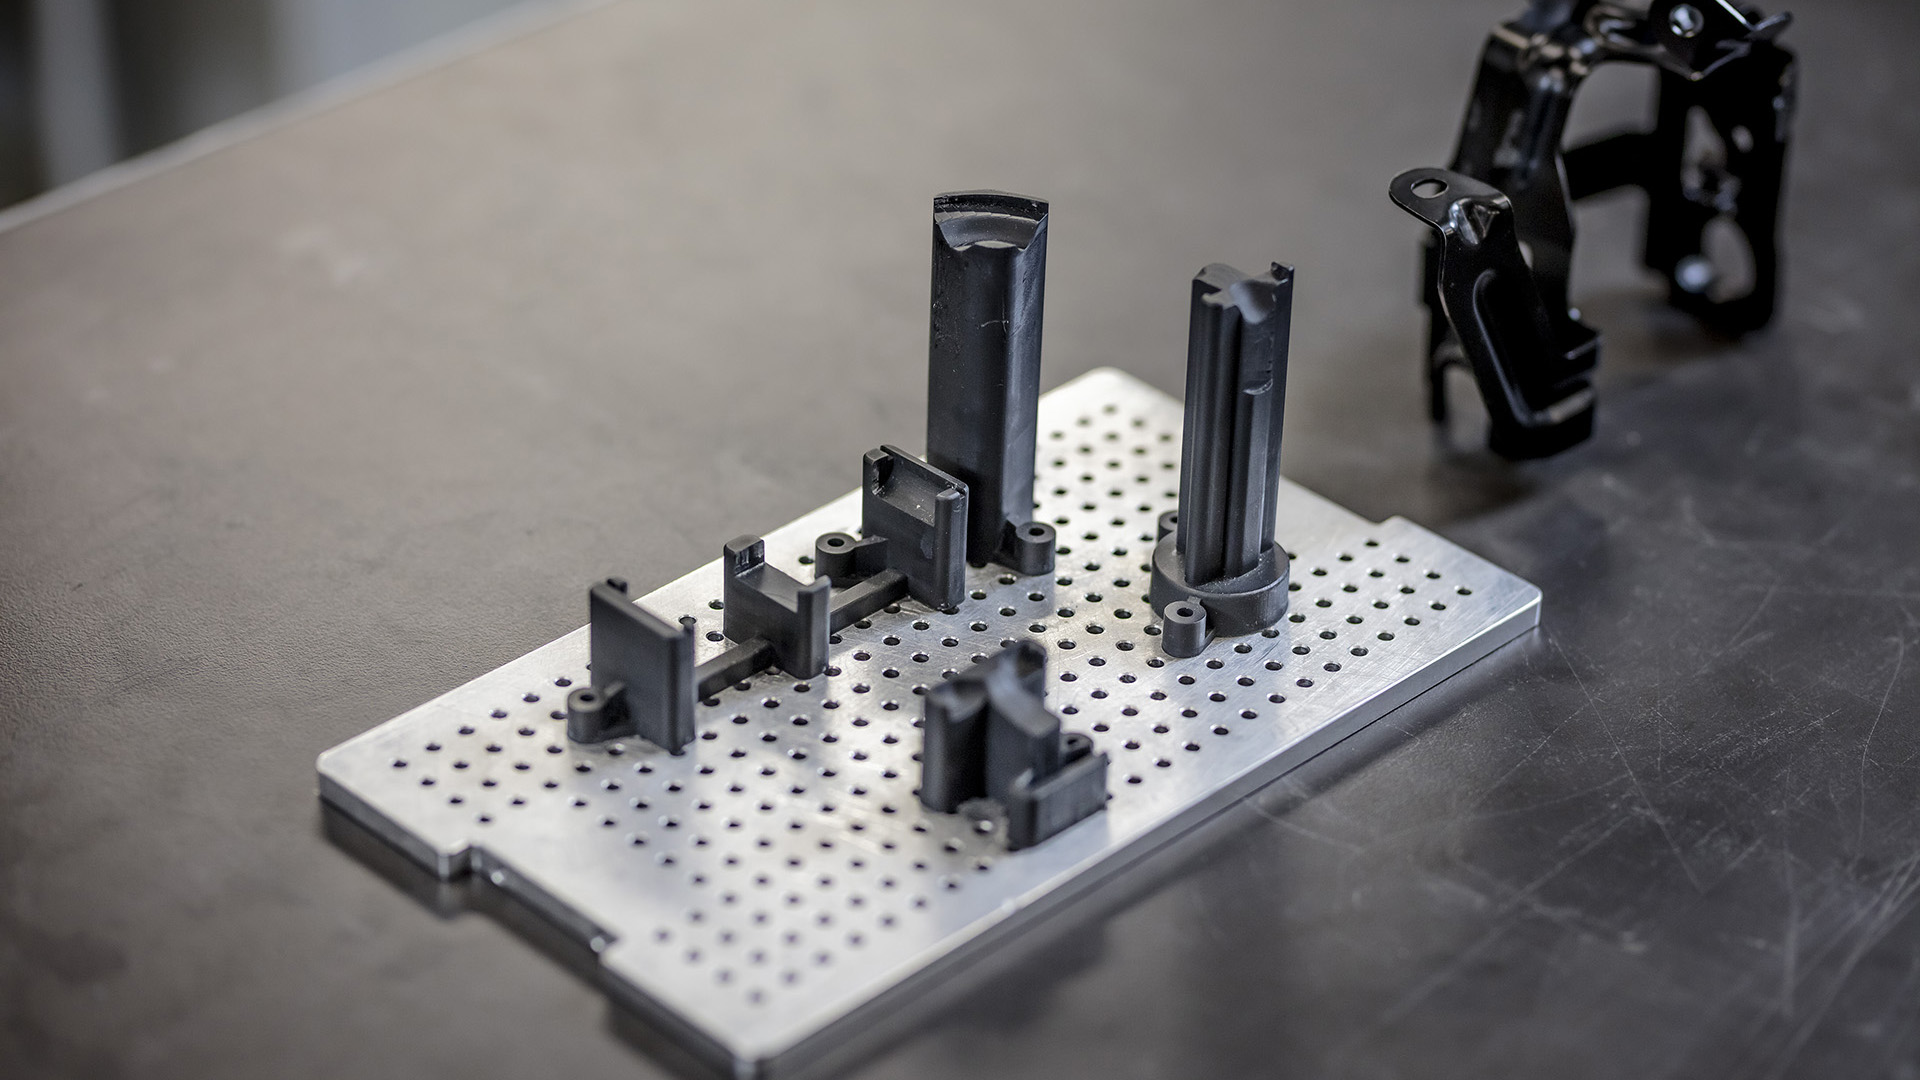
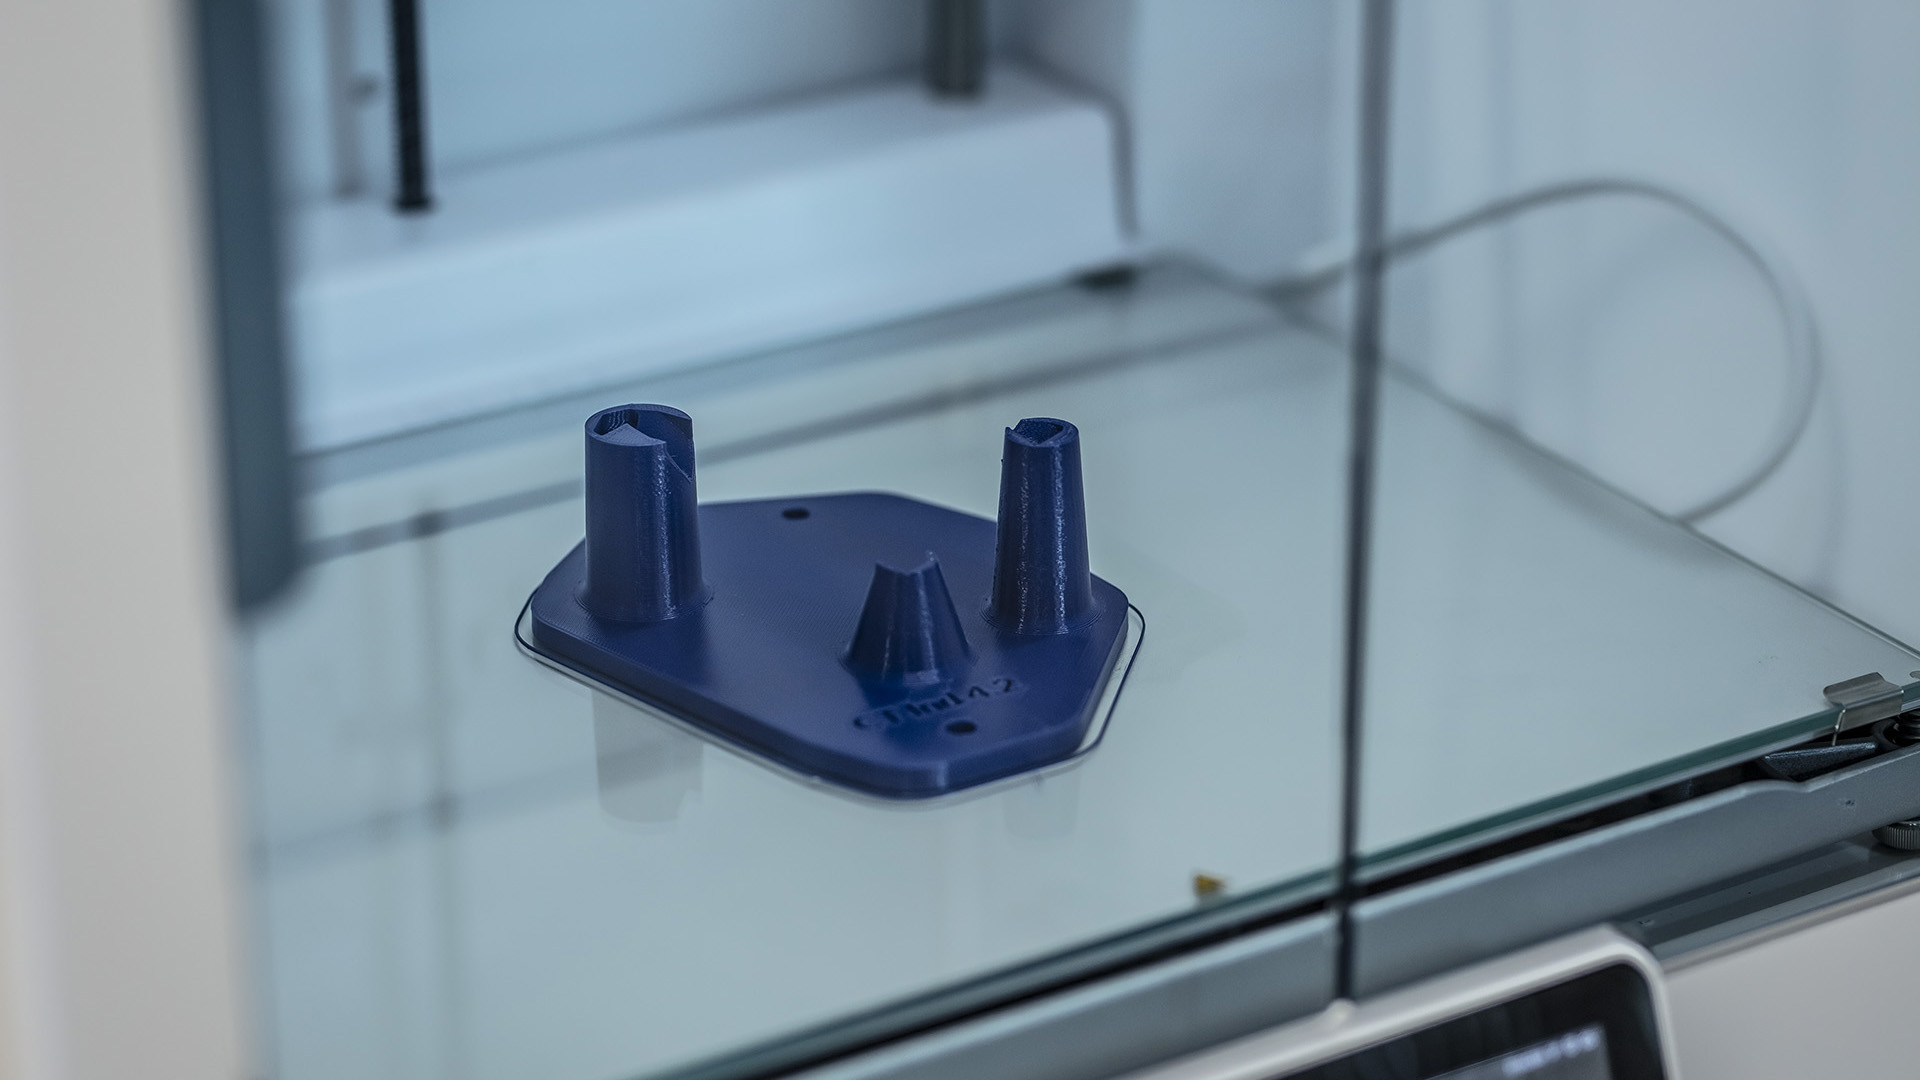
Generate support structures
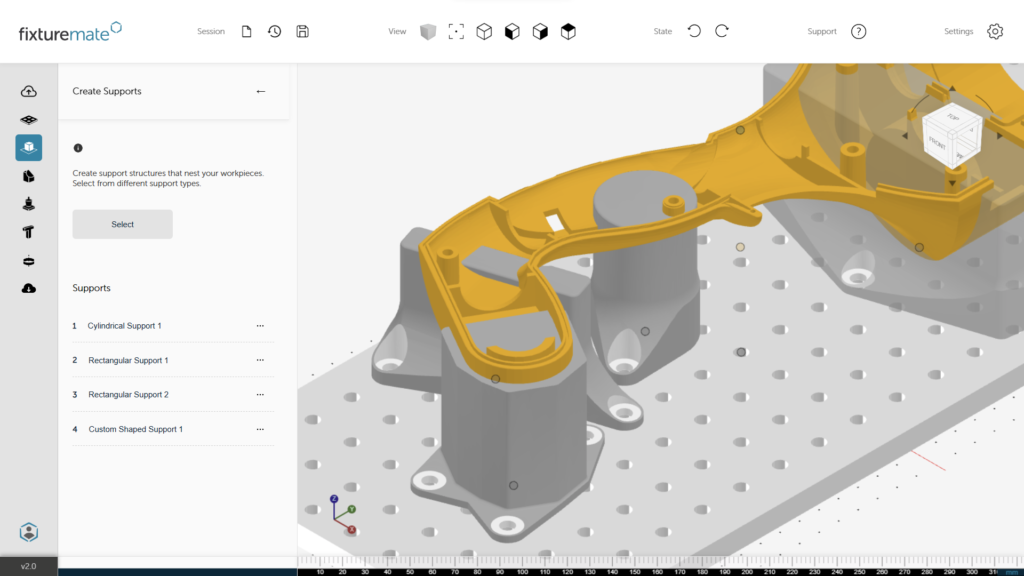
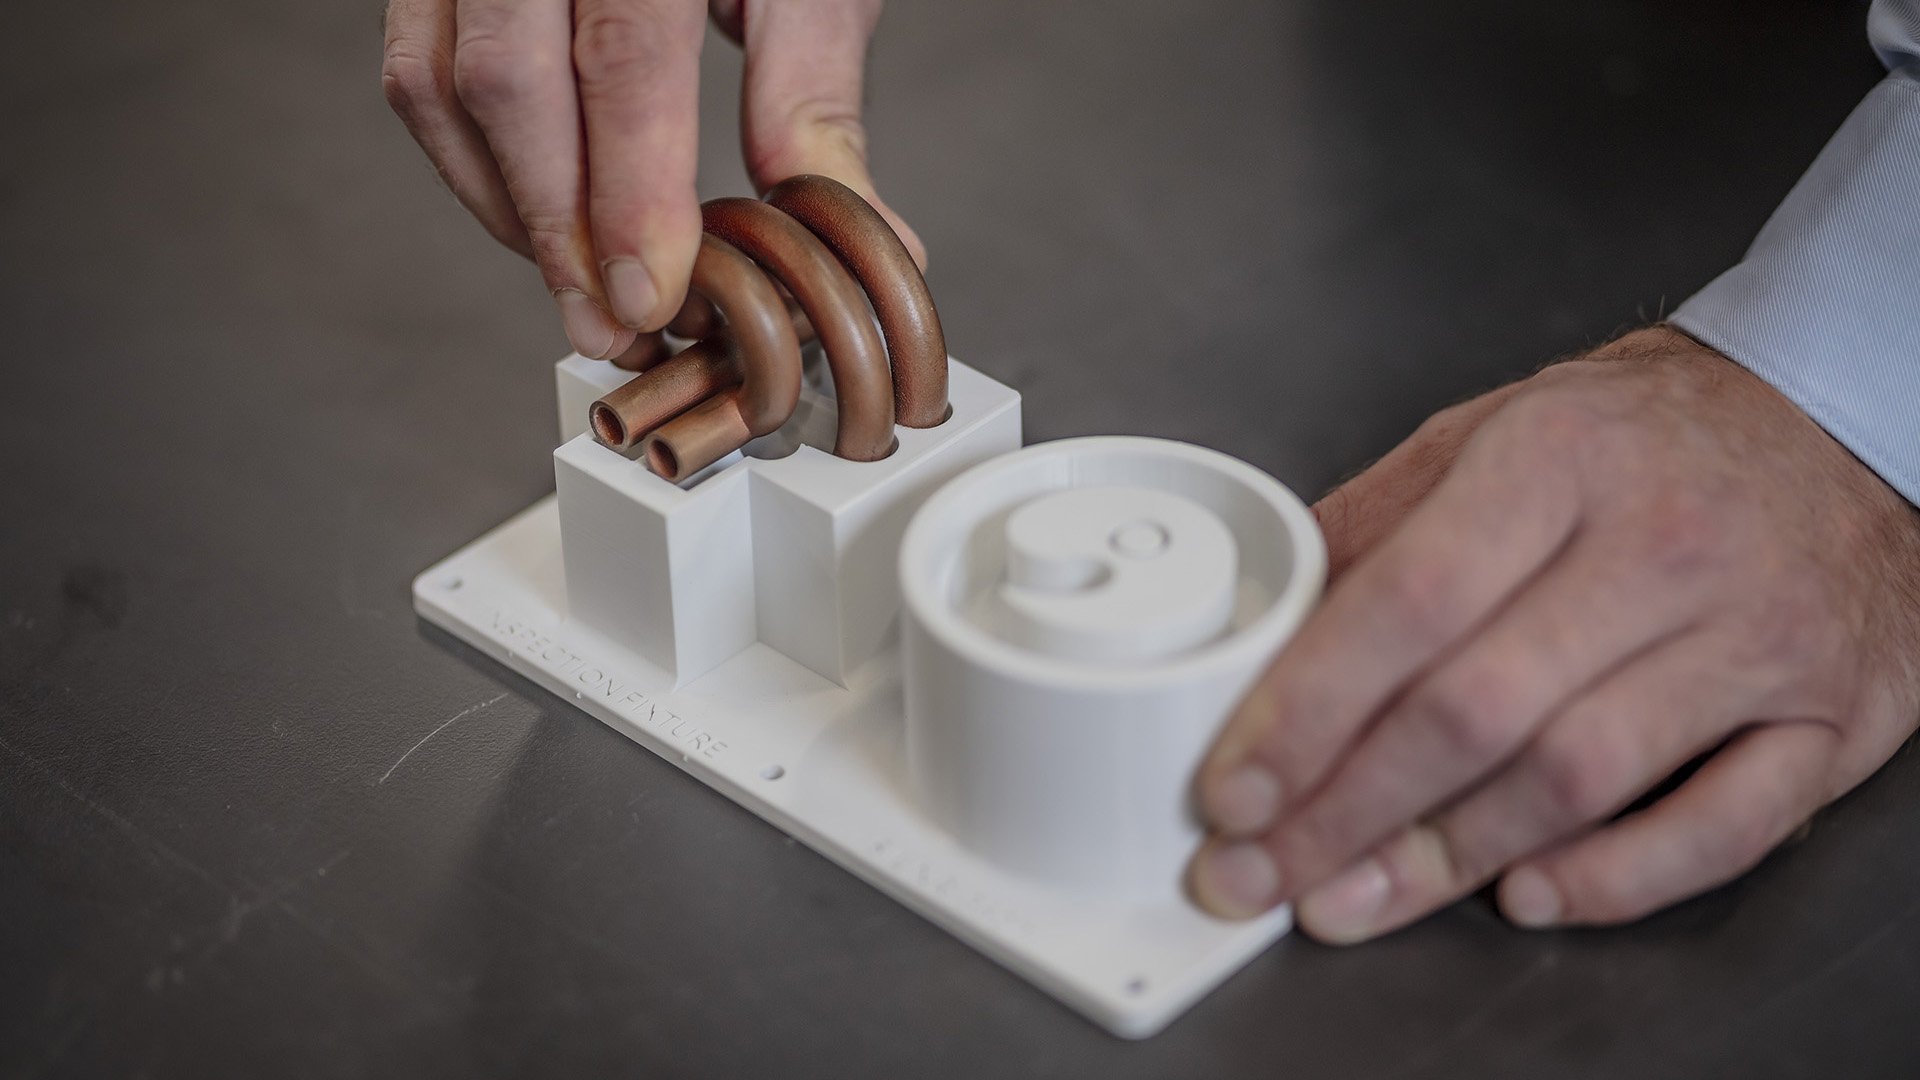
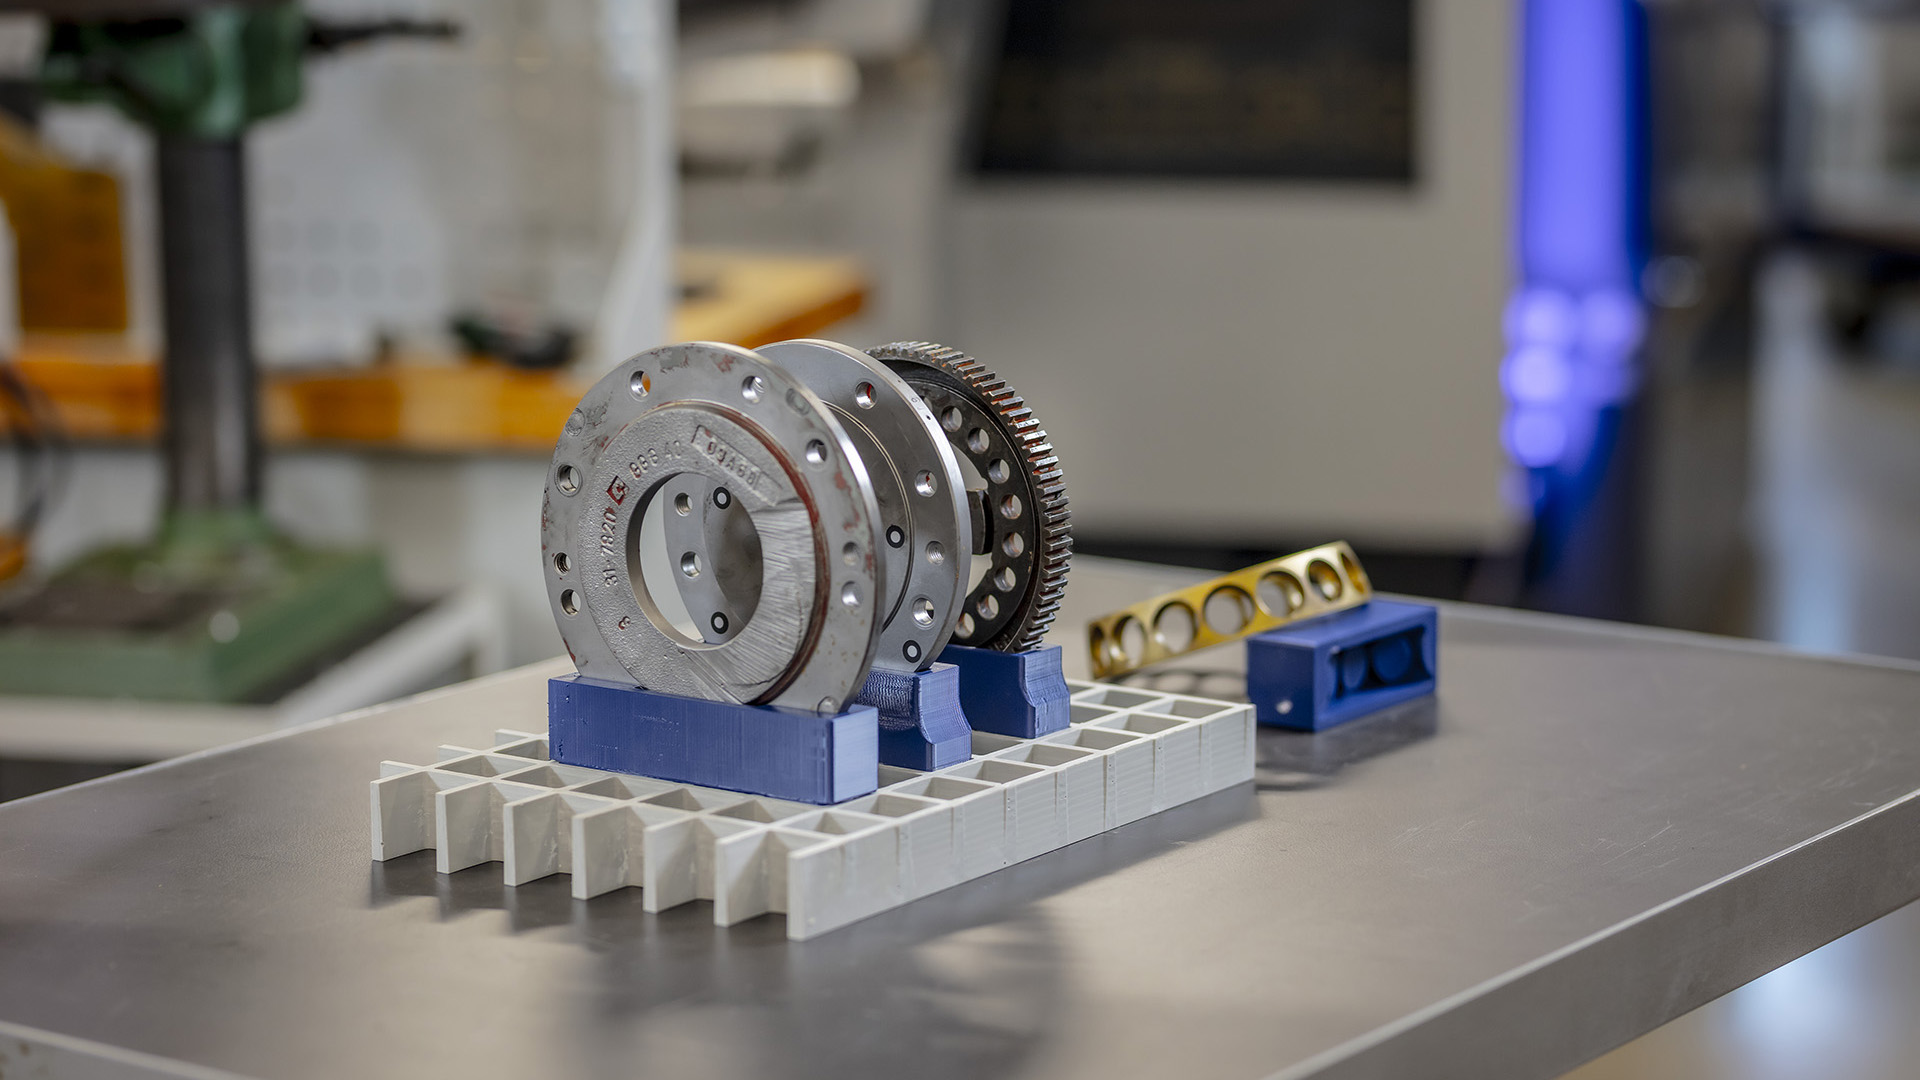
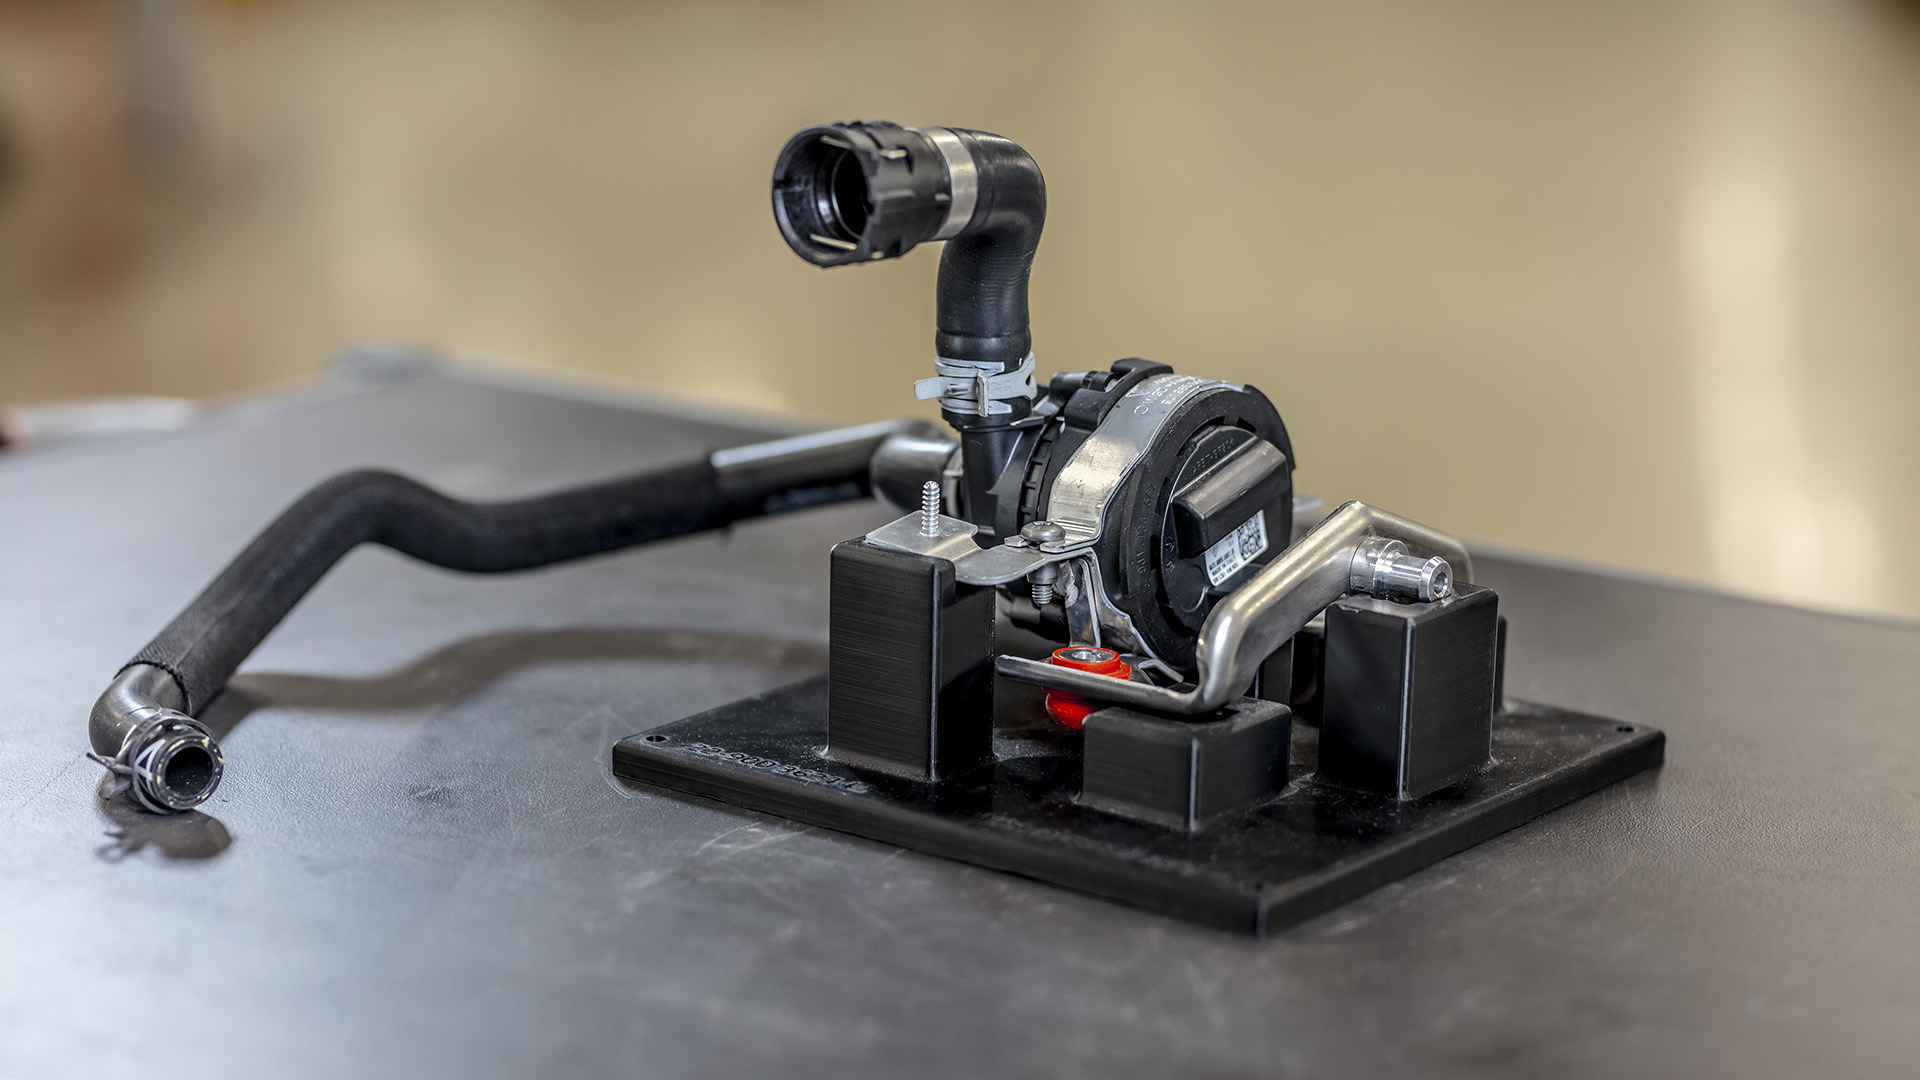
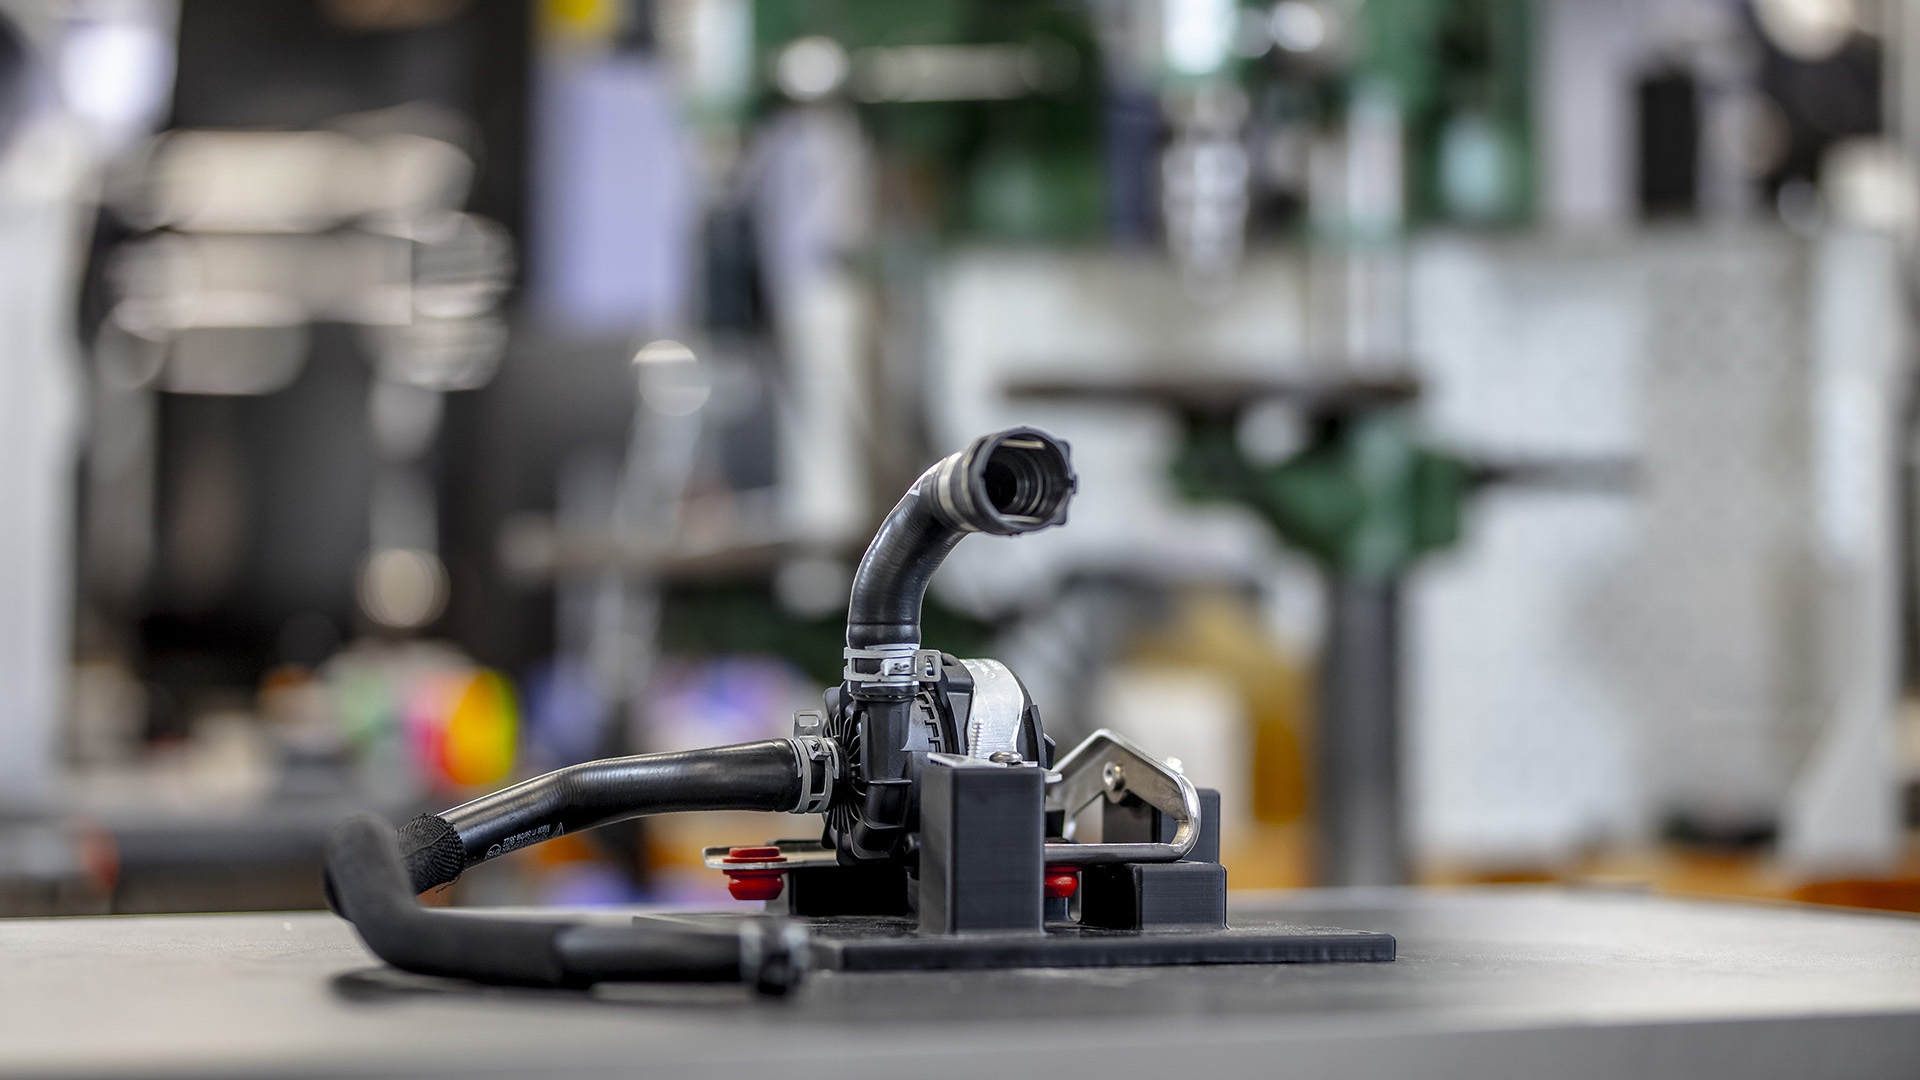
Support the workpiece with rectangular, cylindrical, conical, or custom structures.
Step 4
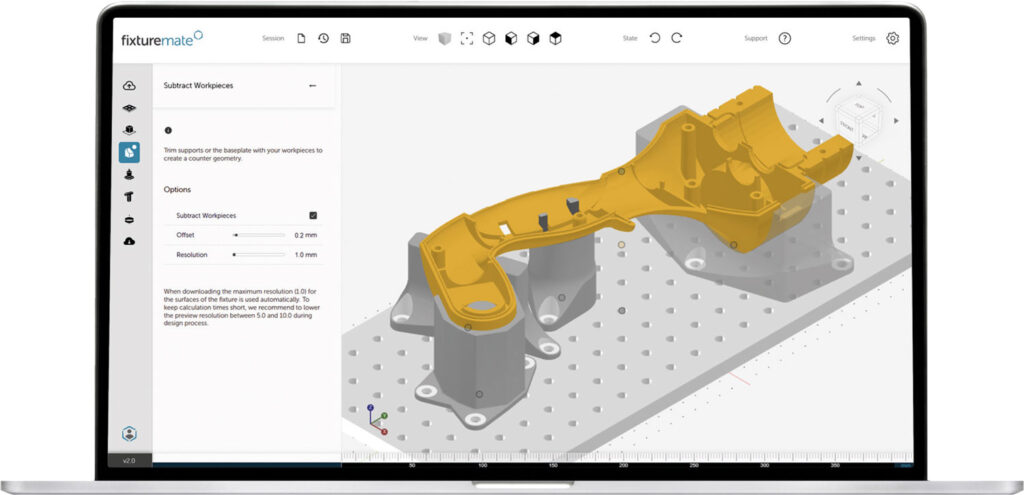
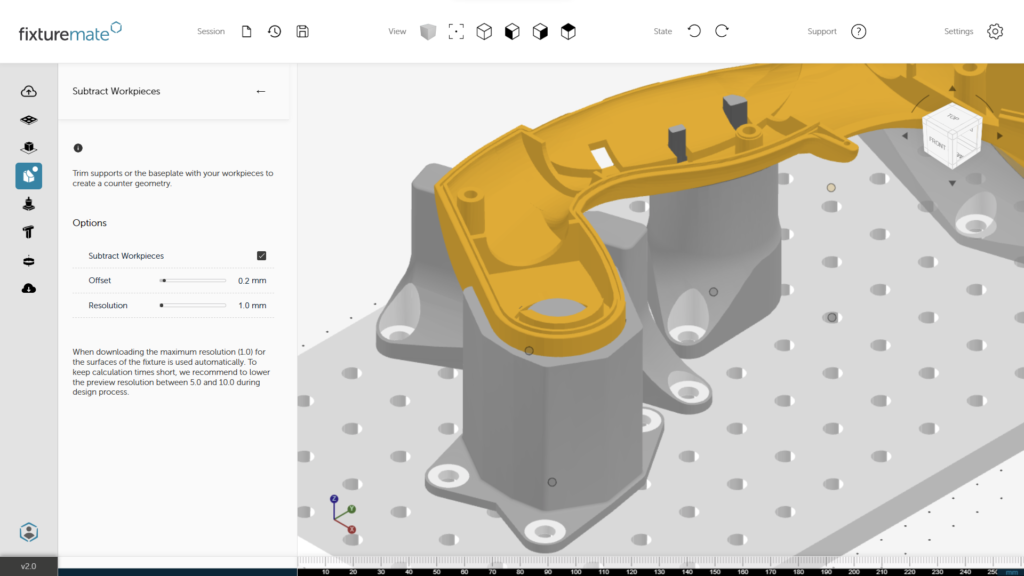
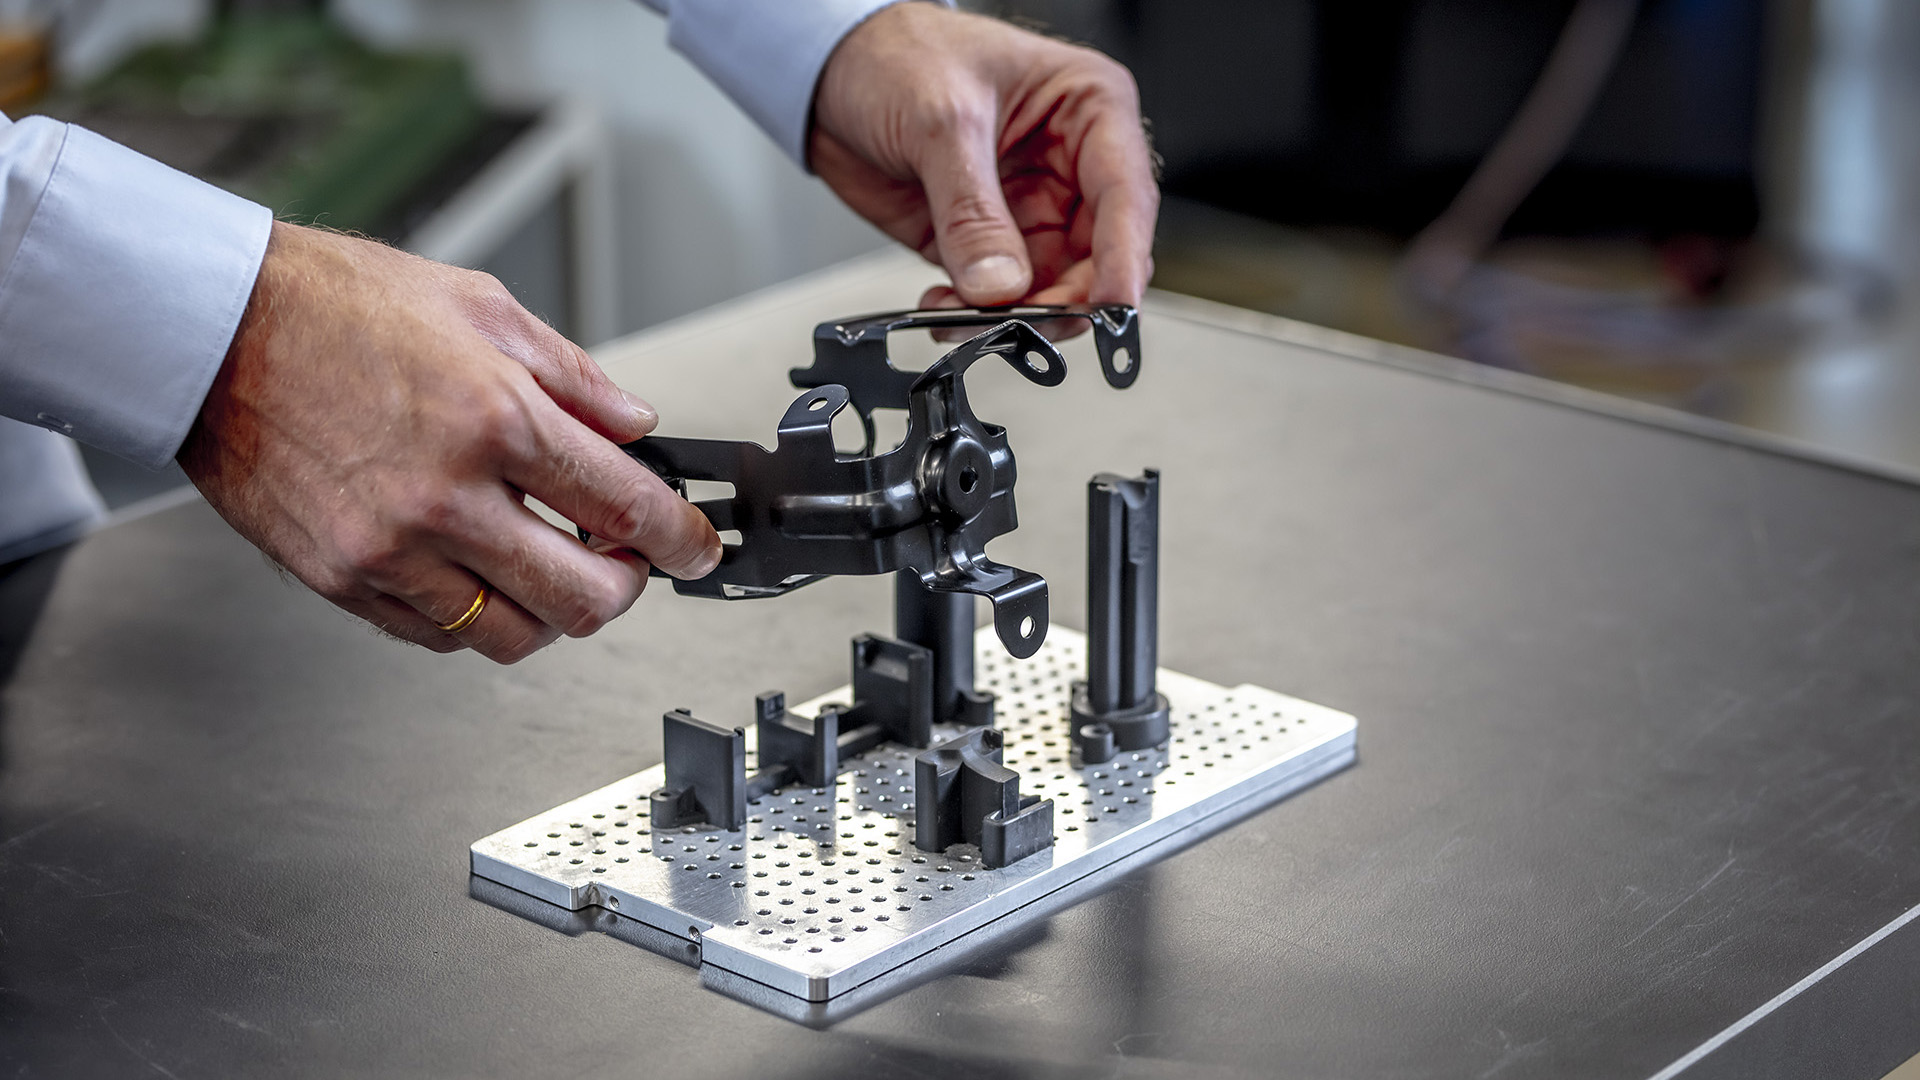
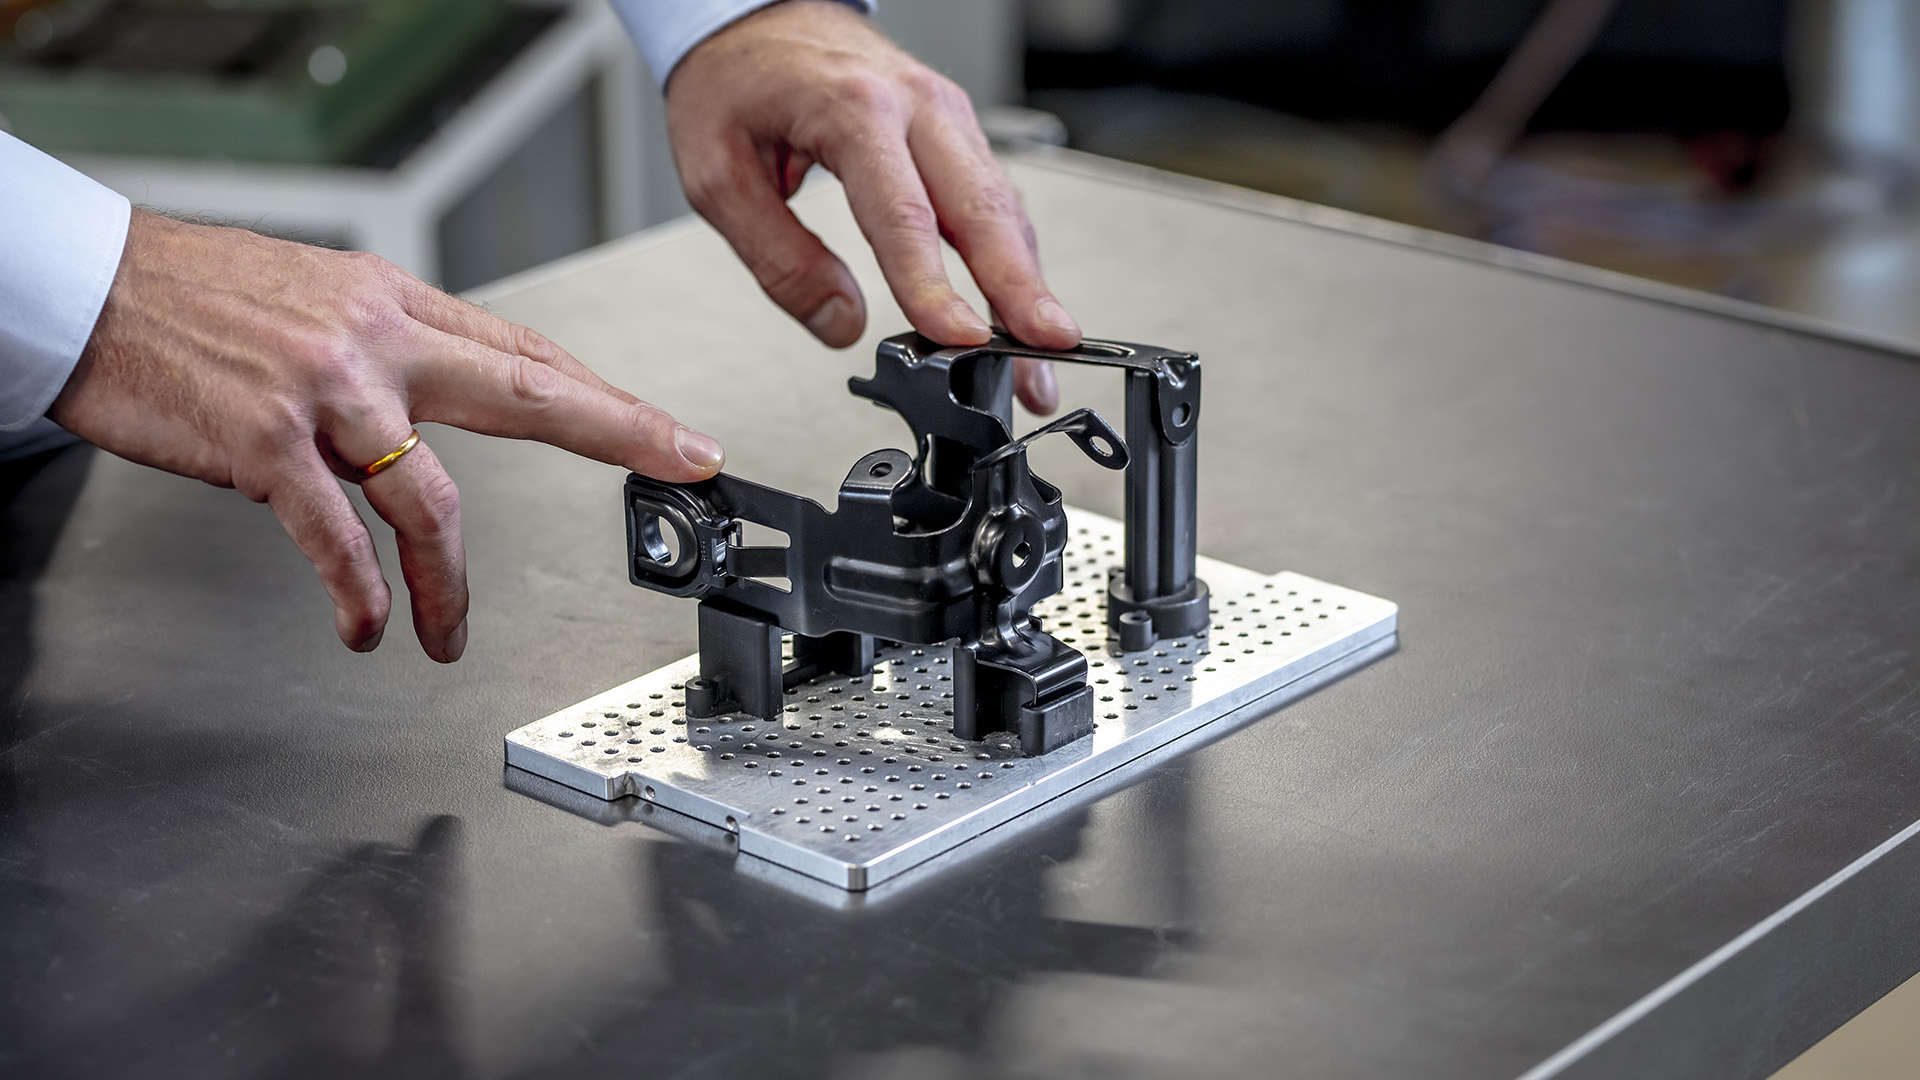
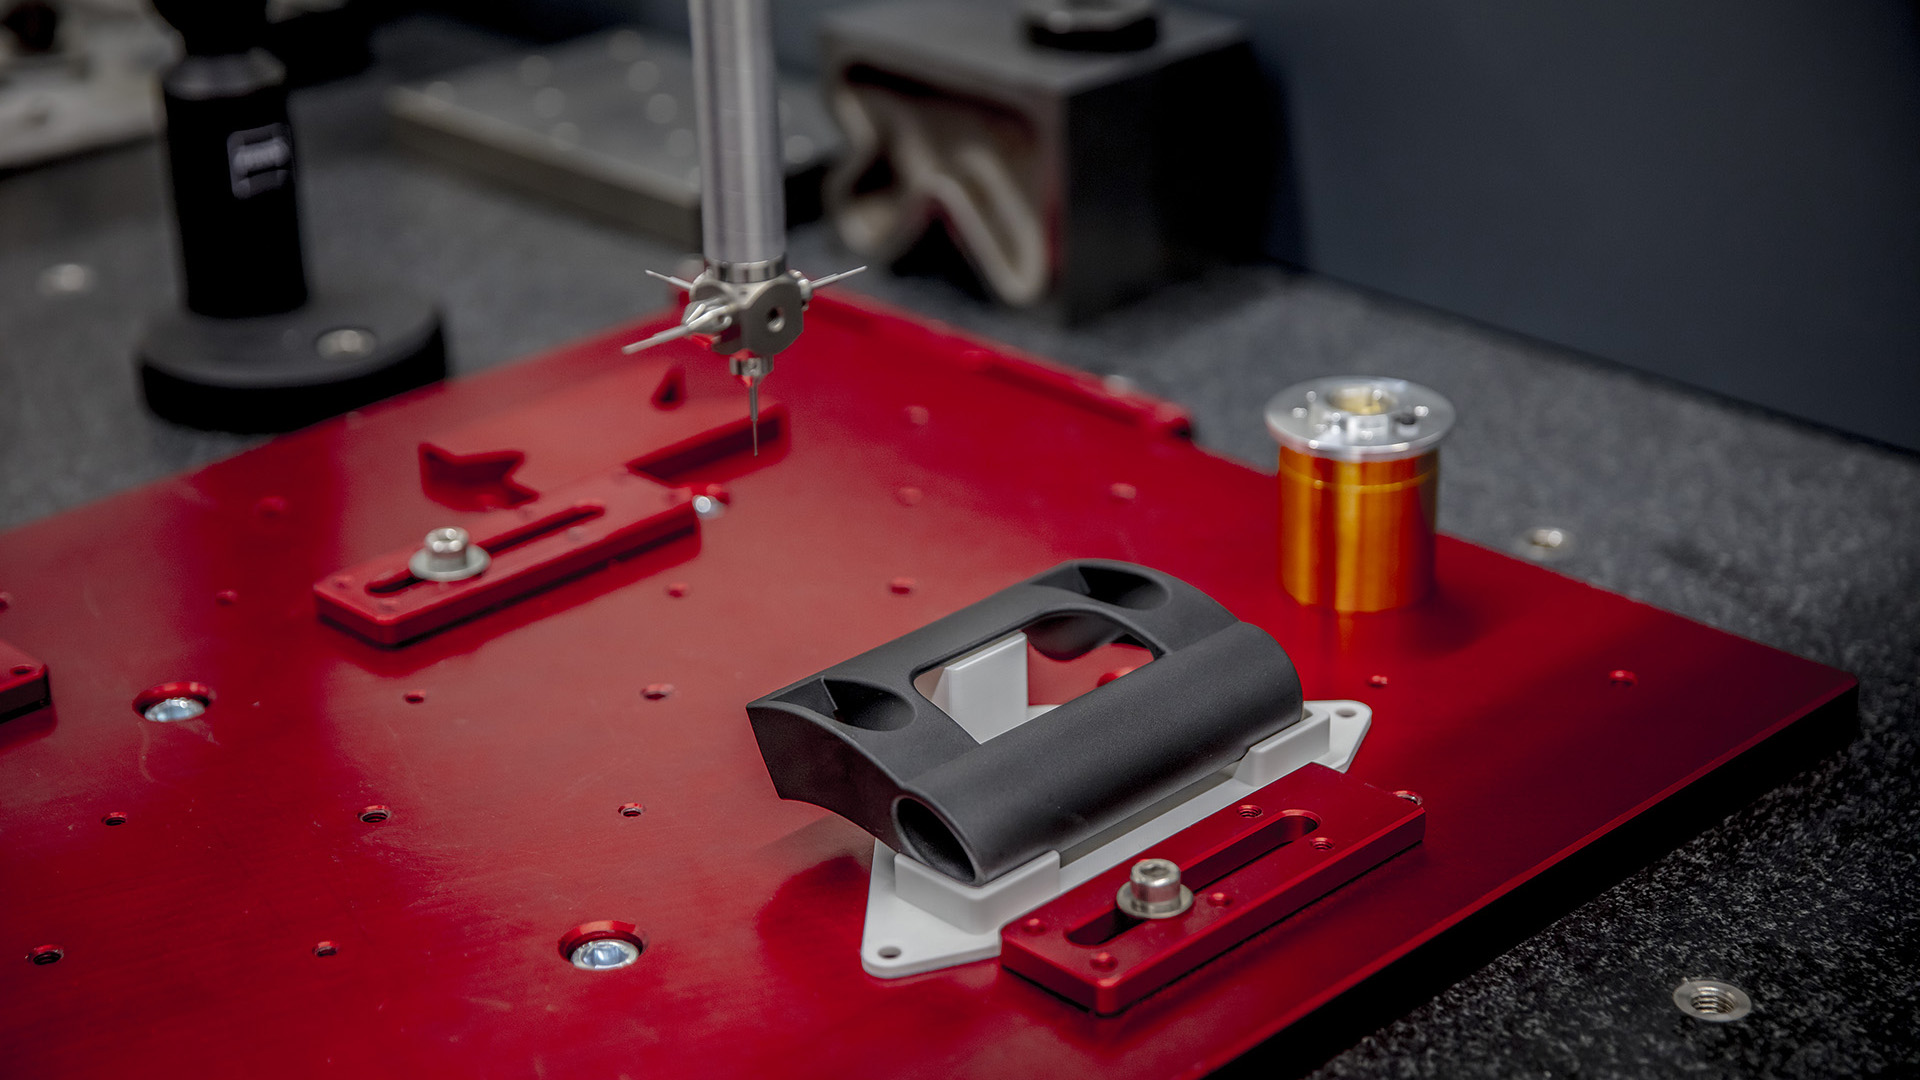
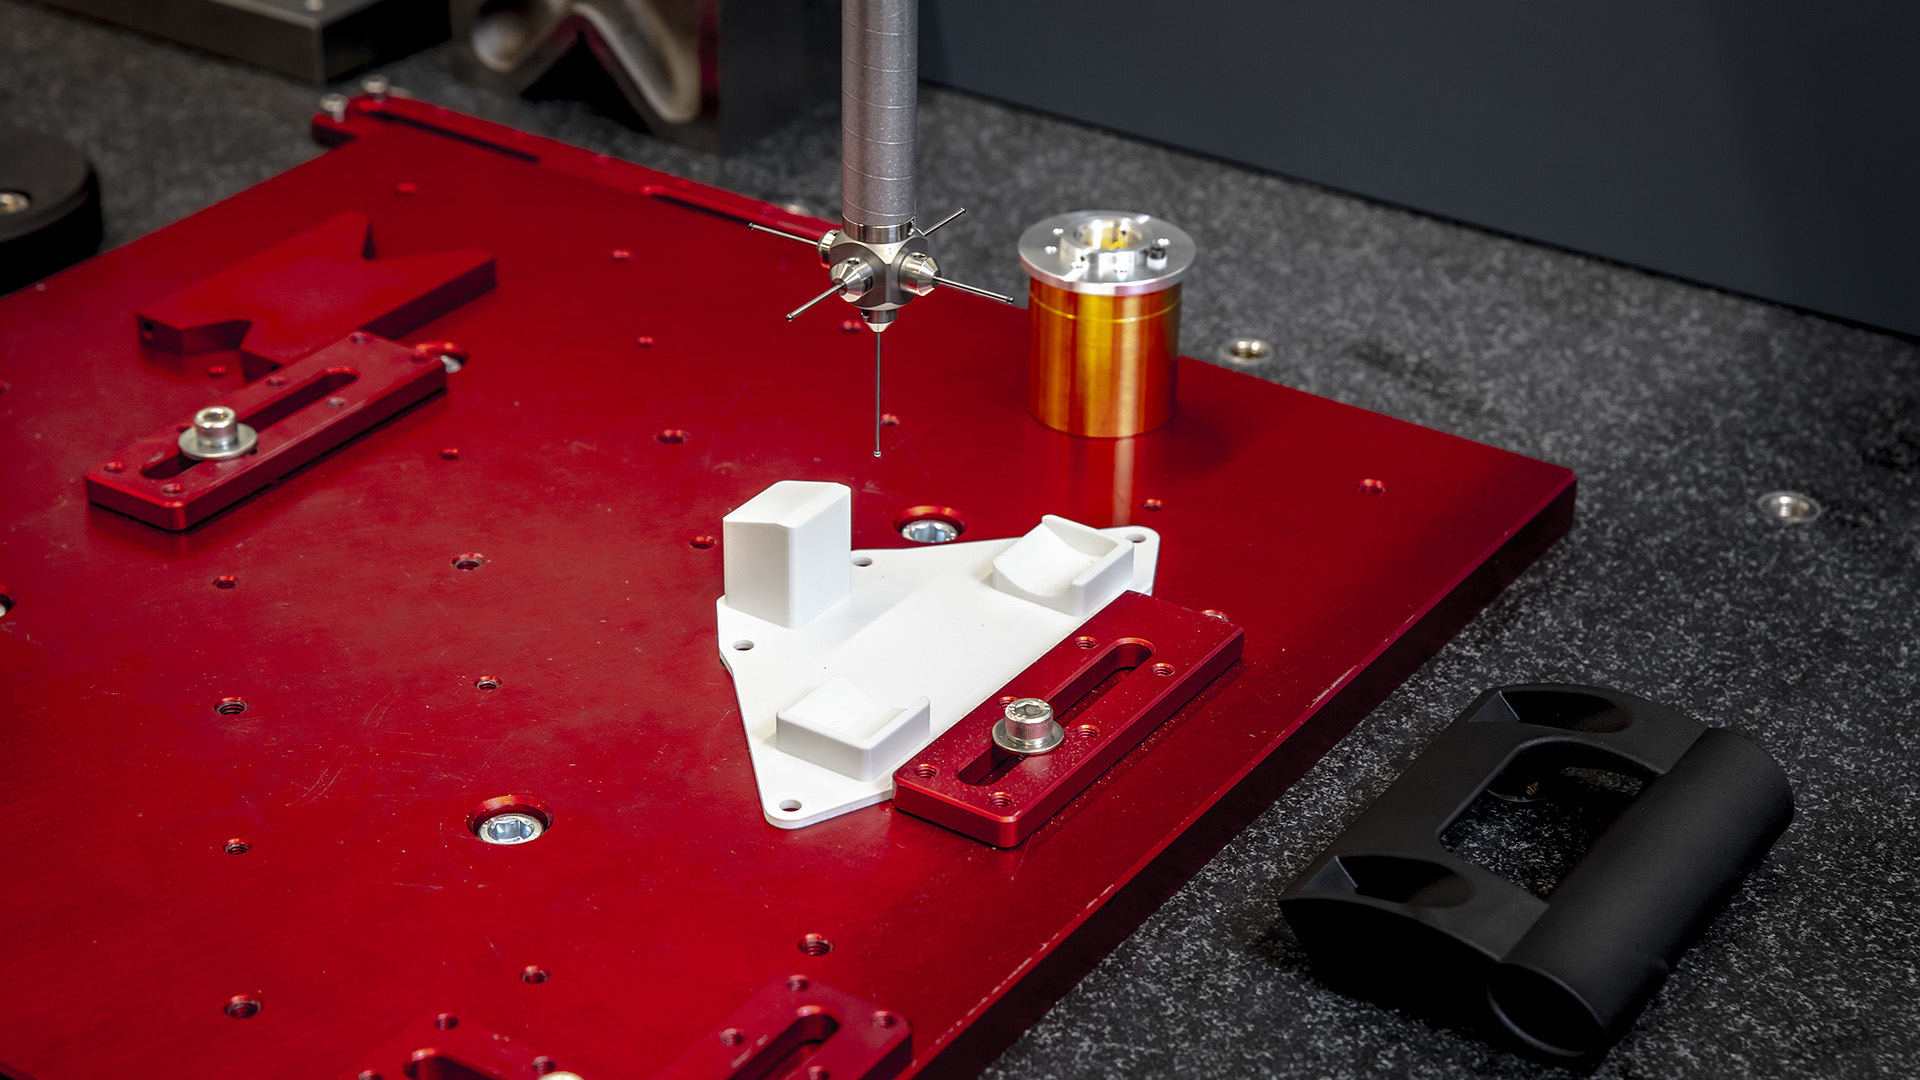
Create a negative
Subtract your workpiece geometry from the support structures to obtain the negative and choose a precise offset for the desired fit accuracy.
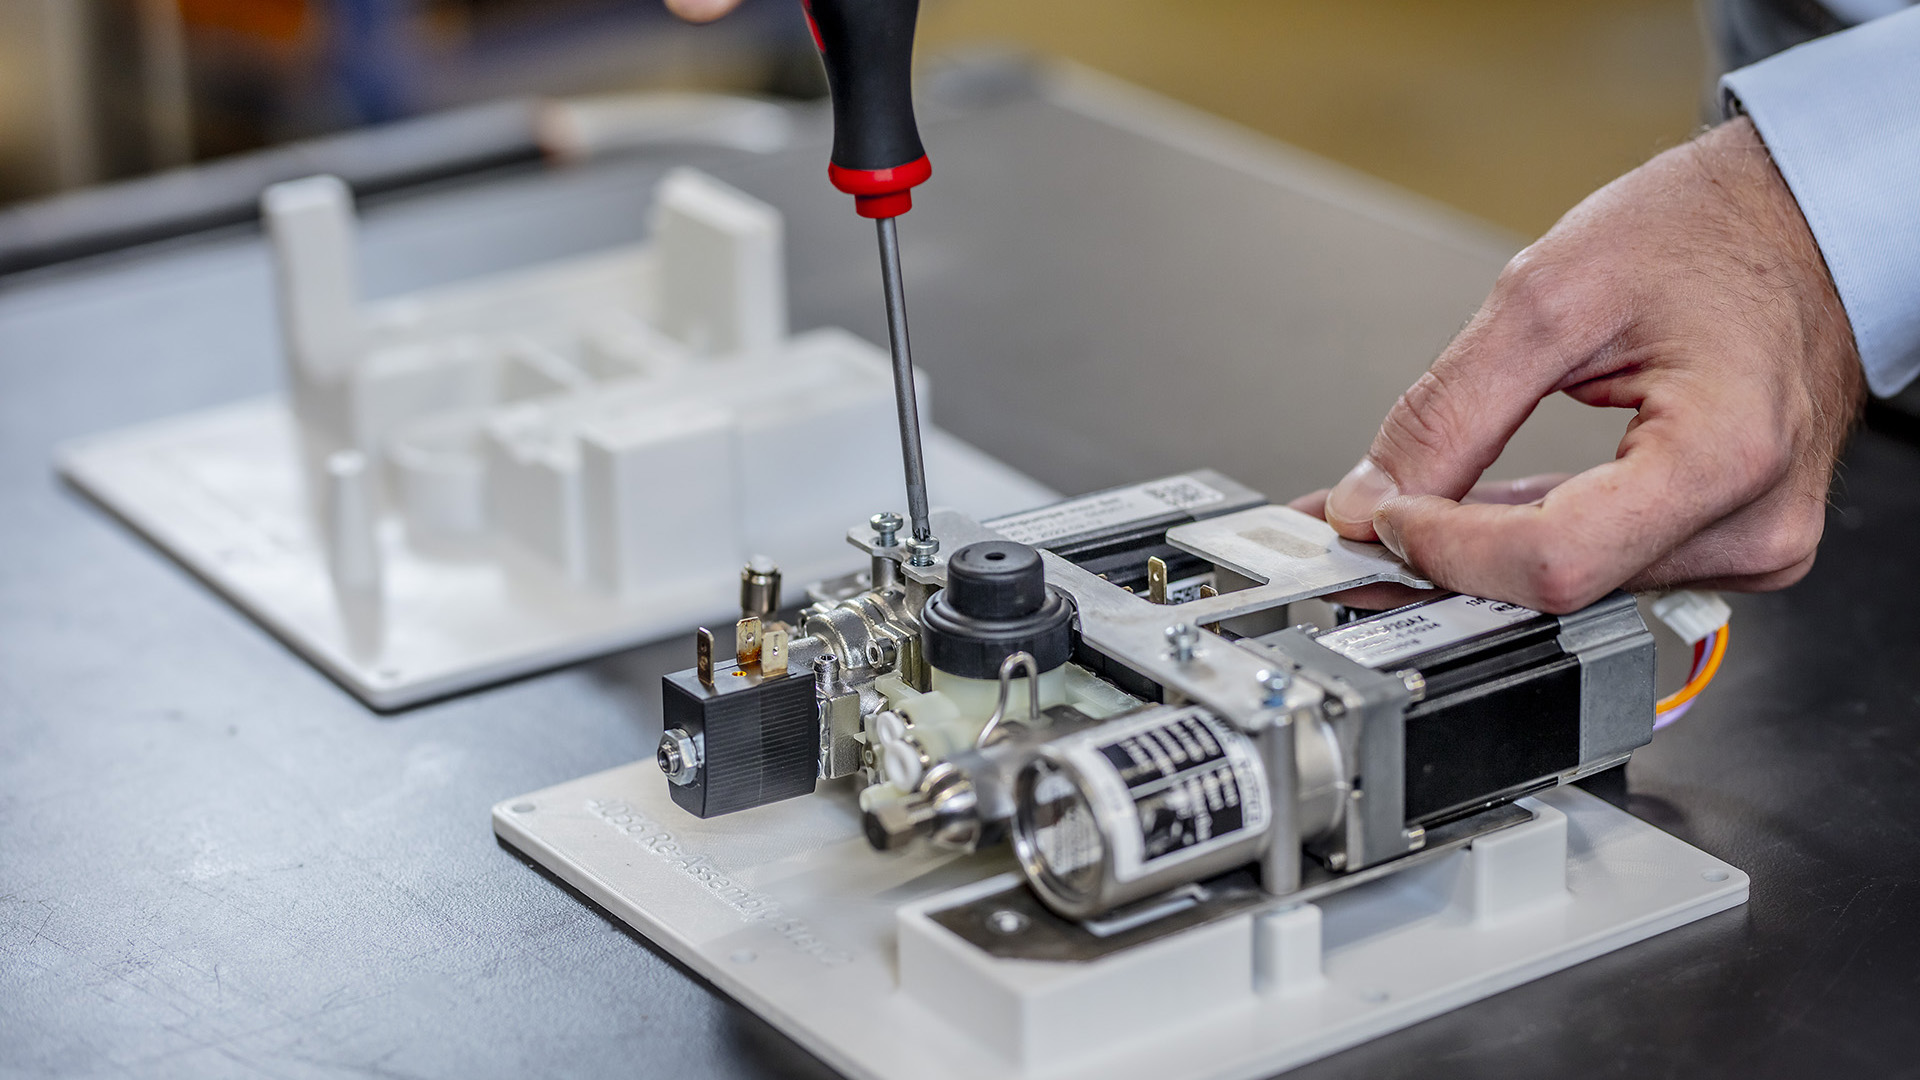
Step 5
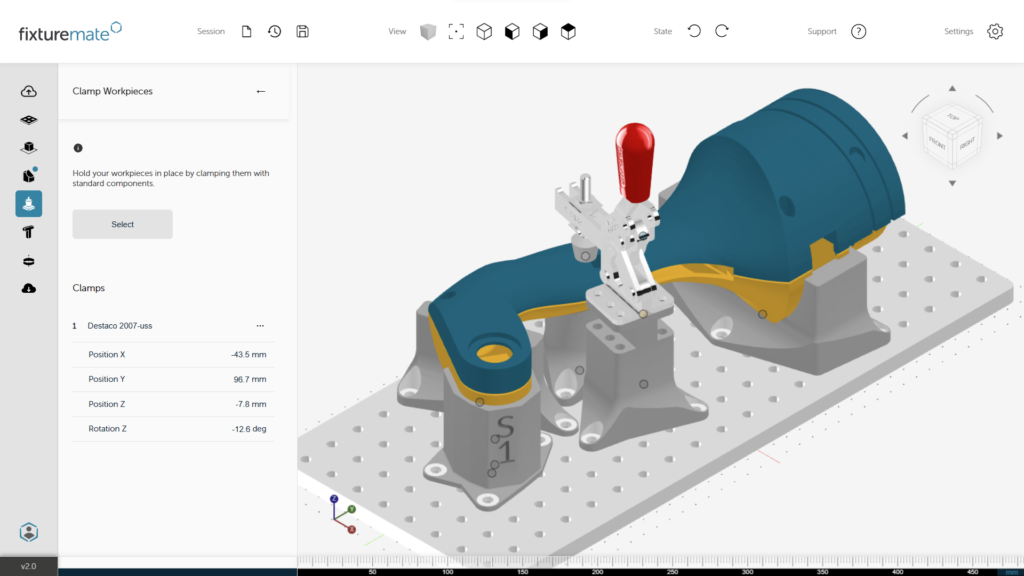
Add standard components
Integrate optional elements such as clamps, labels, holes, or cutouts.
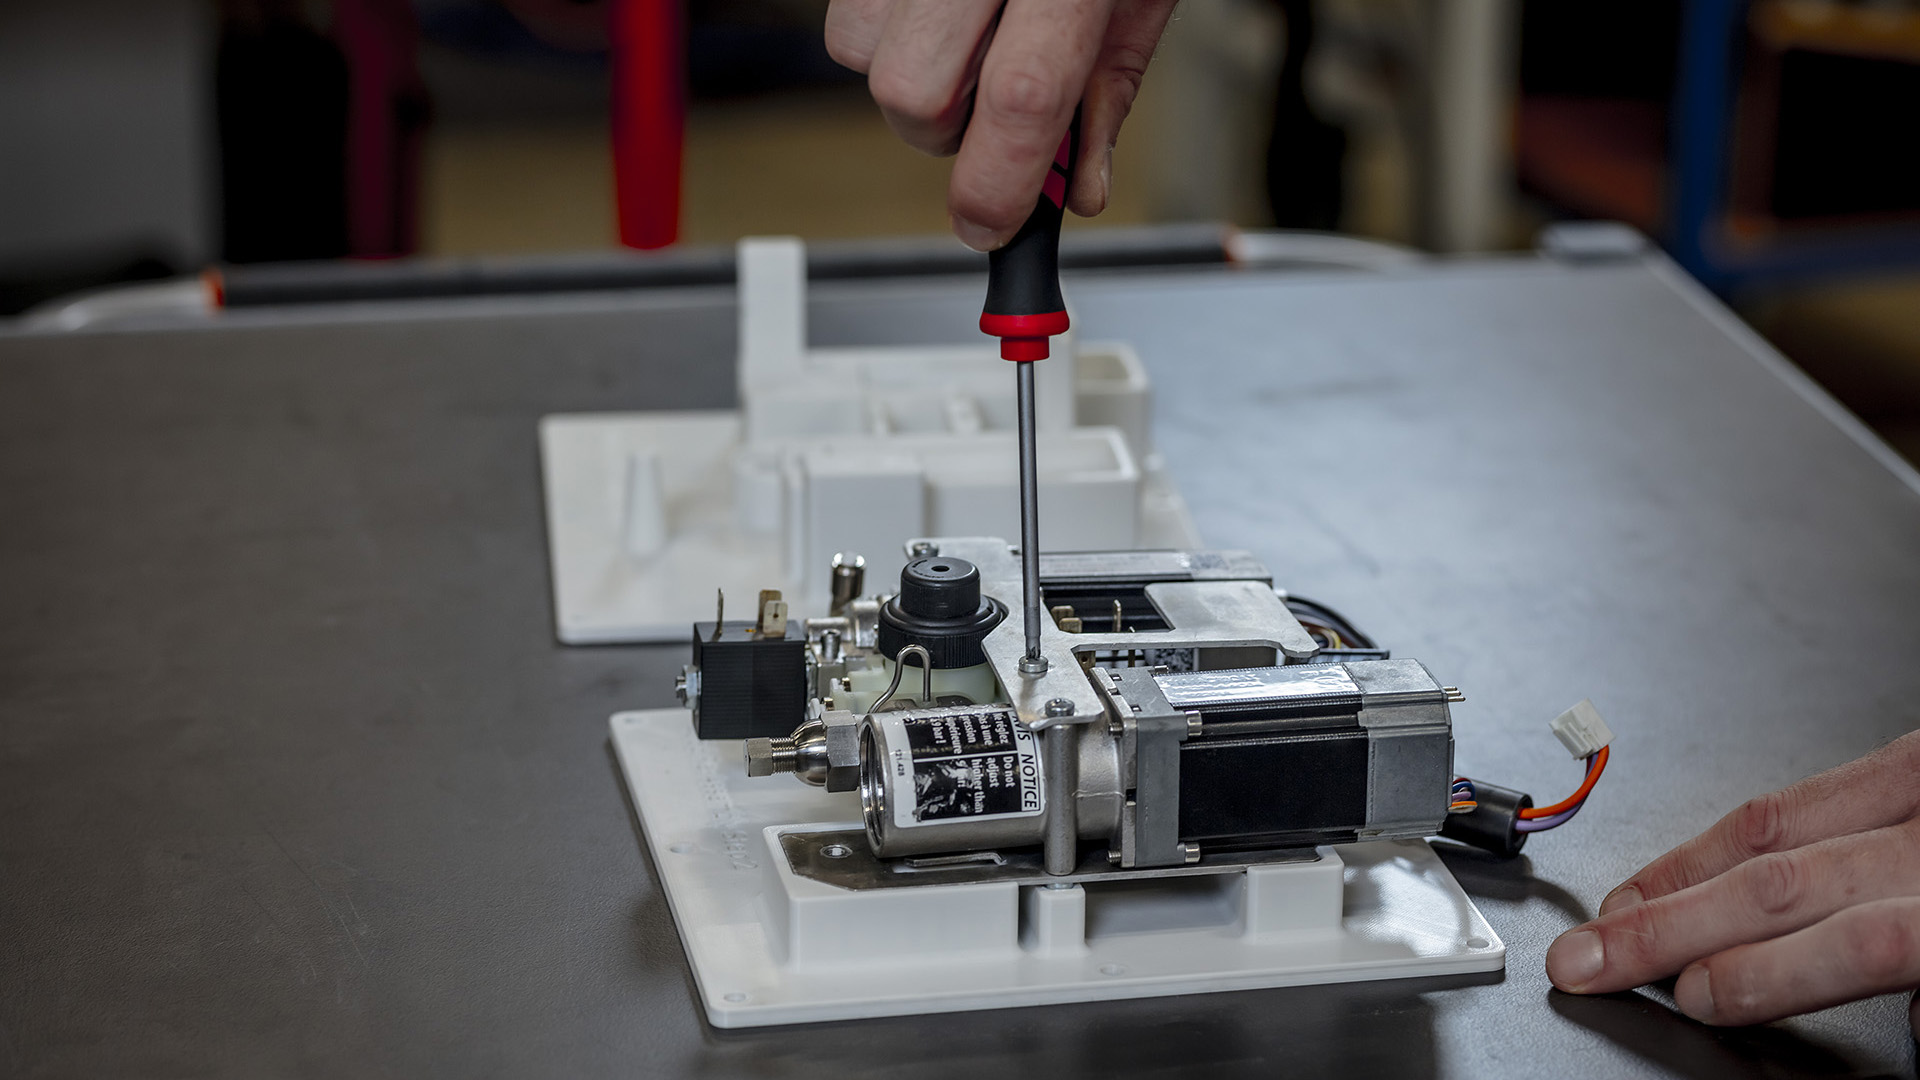
Step 6
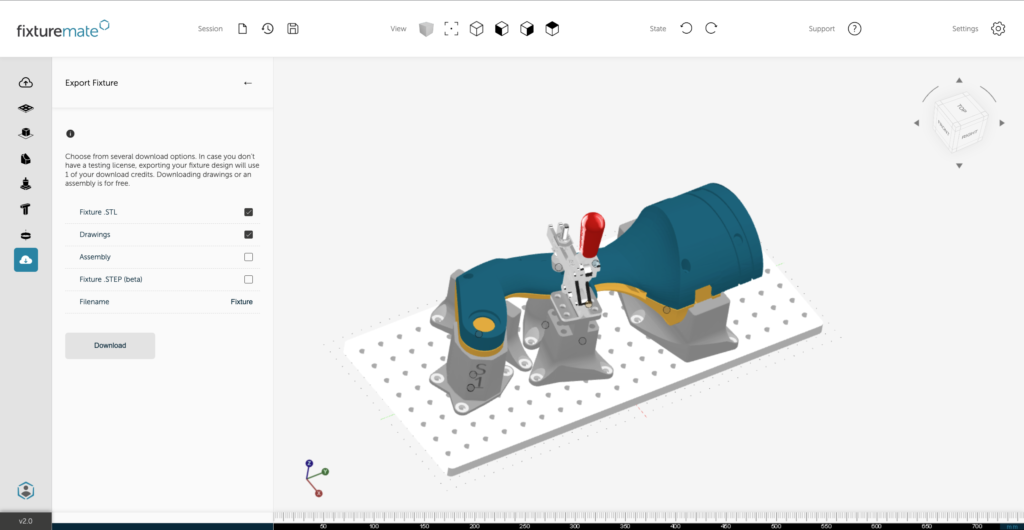
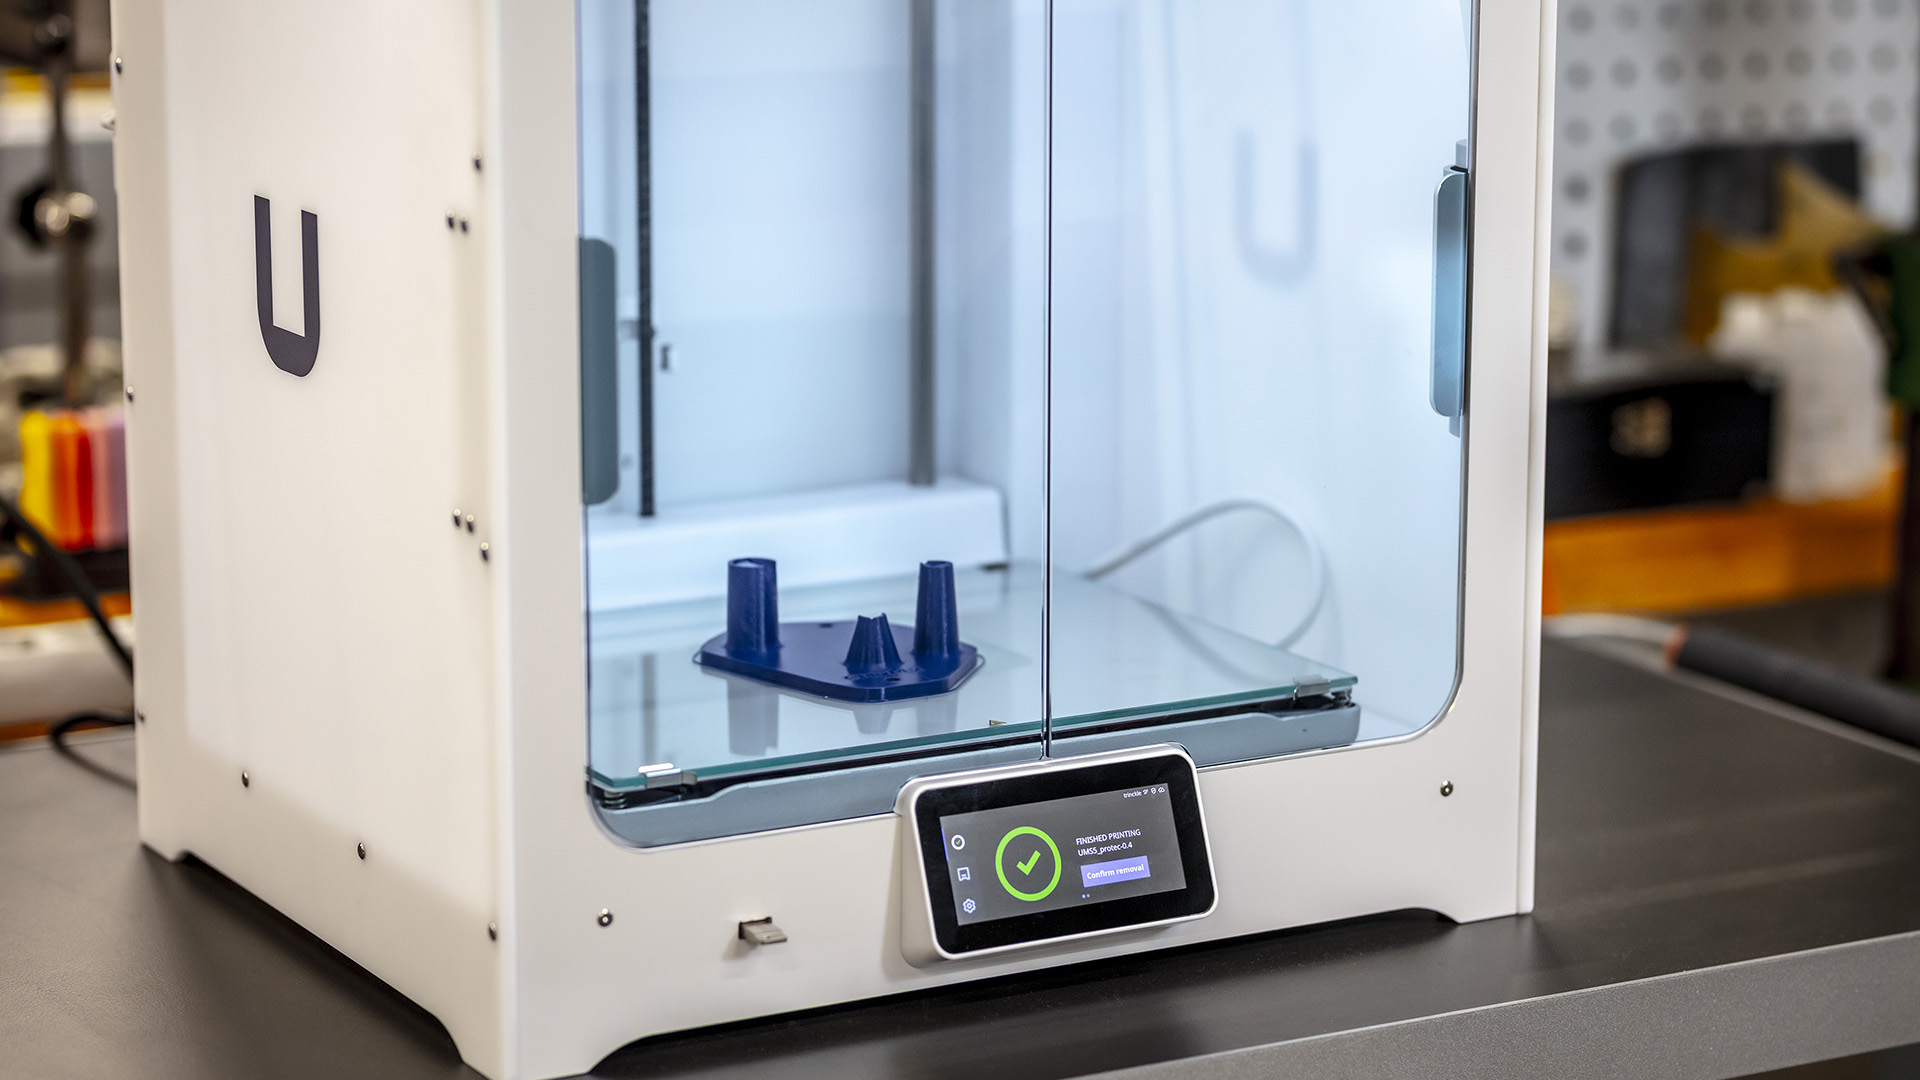
Export for 3D printing
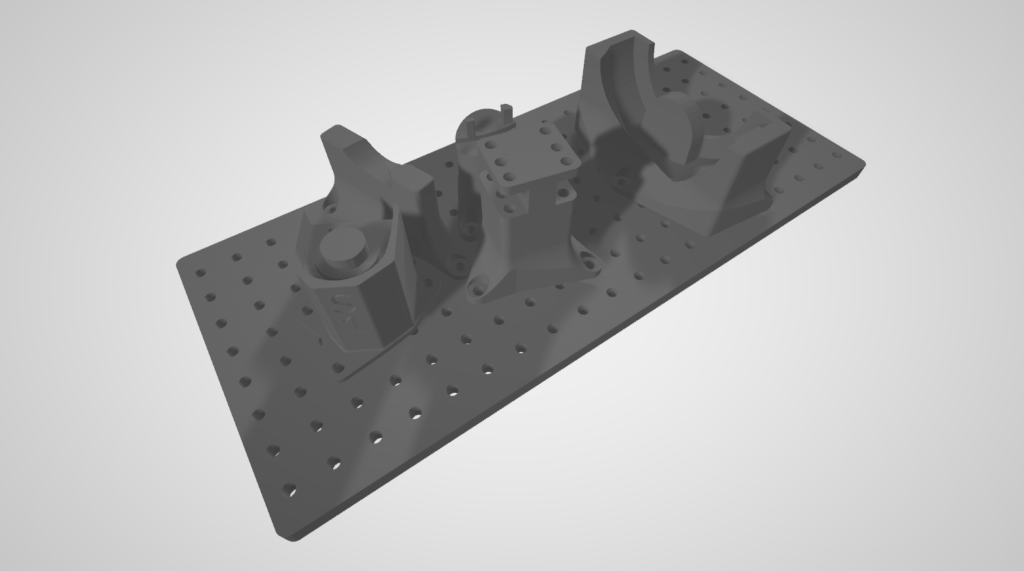
fixturemate outputs STL data optimized for 3D printing. It can also automatically create PDFs of 2D drawings to clearly document the assembly process.